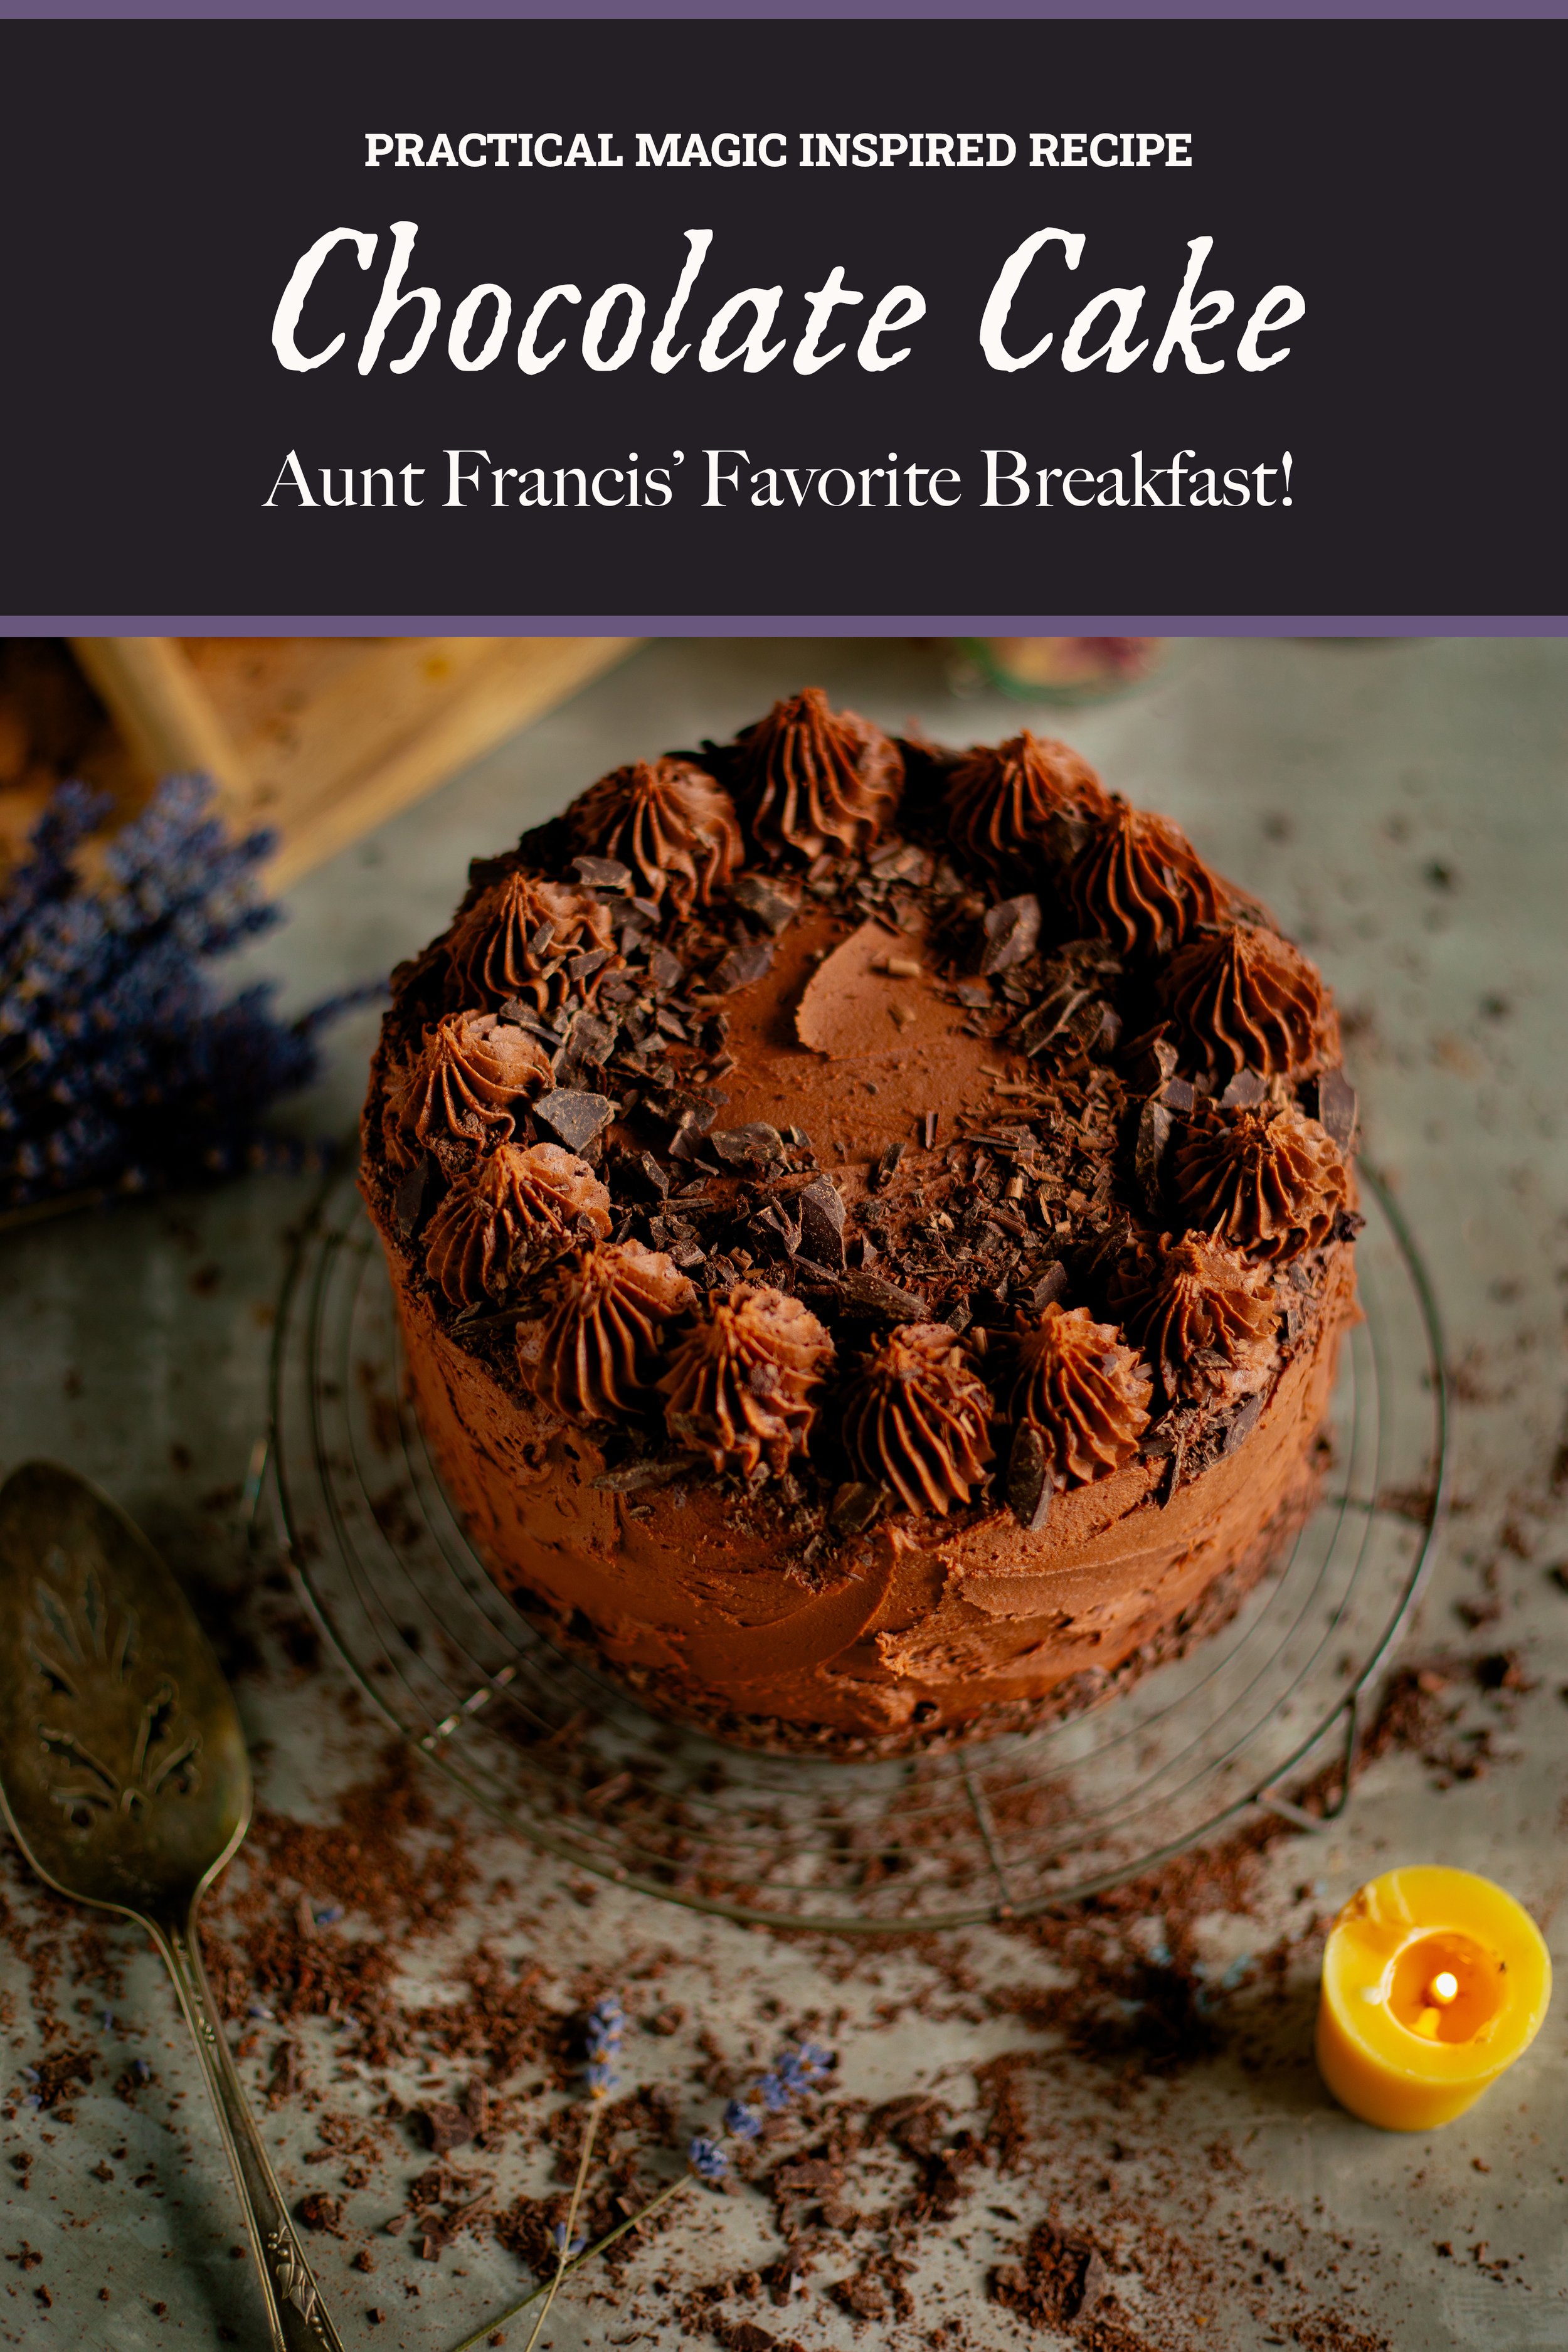
Aunt Francis’ Chocolate Cake | Practical Magic
This post may contain affiliate links, please see our privacy policy for more information.
“In this house, we eat chocolate cake for breakfast!”
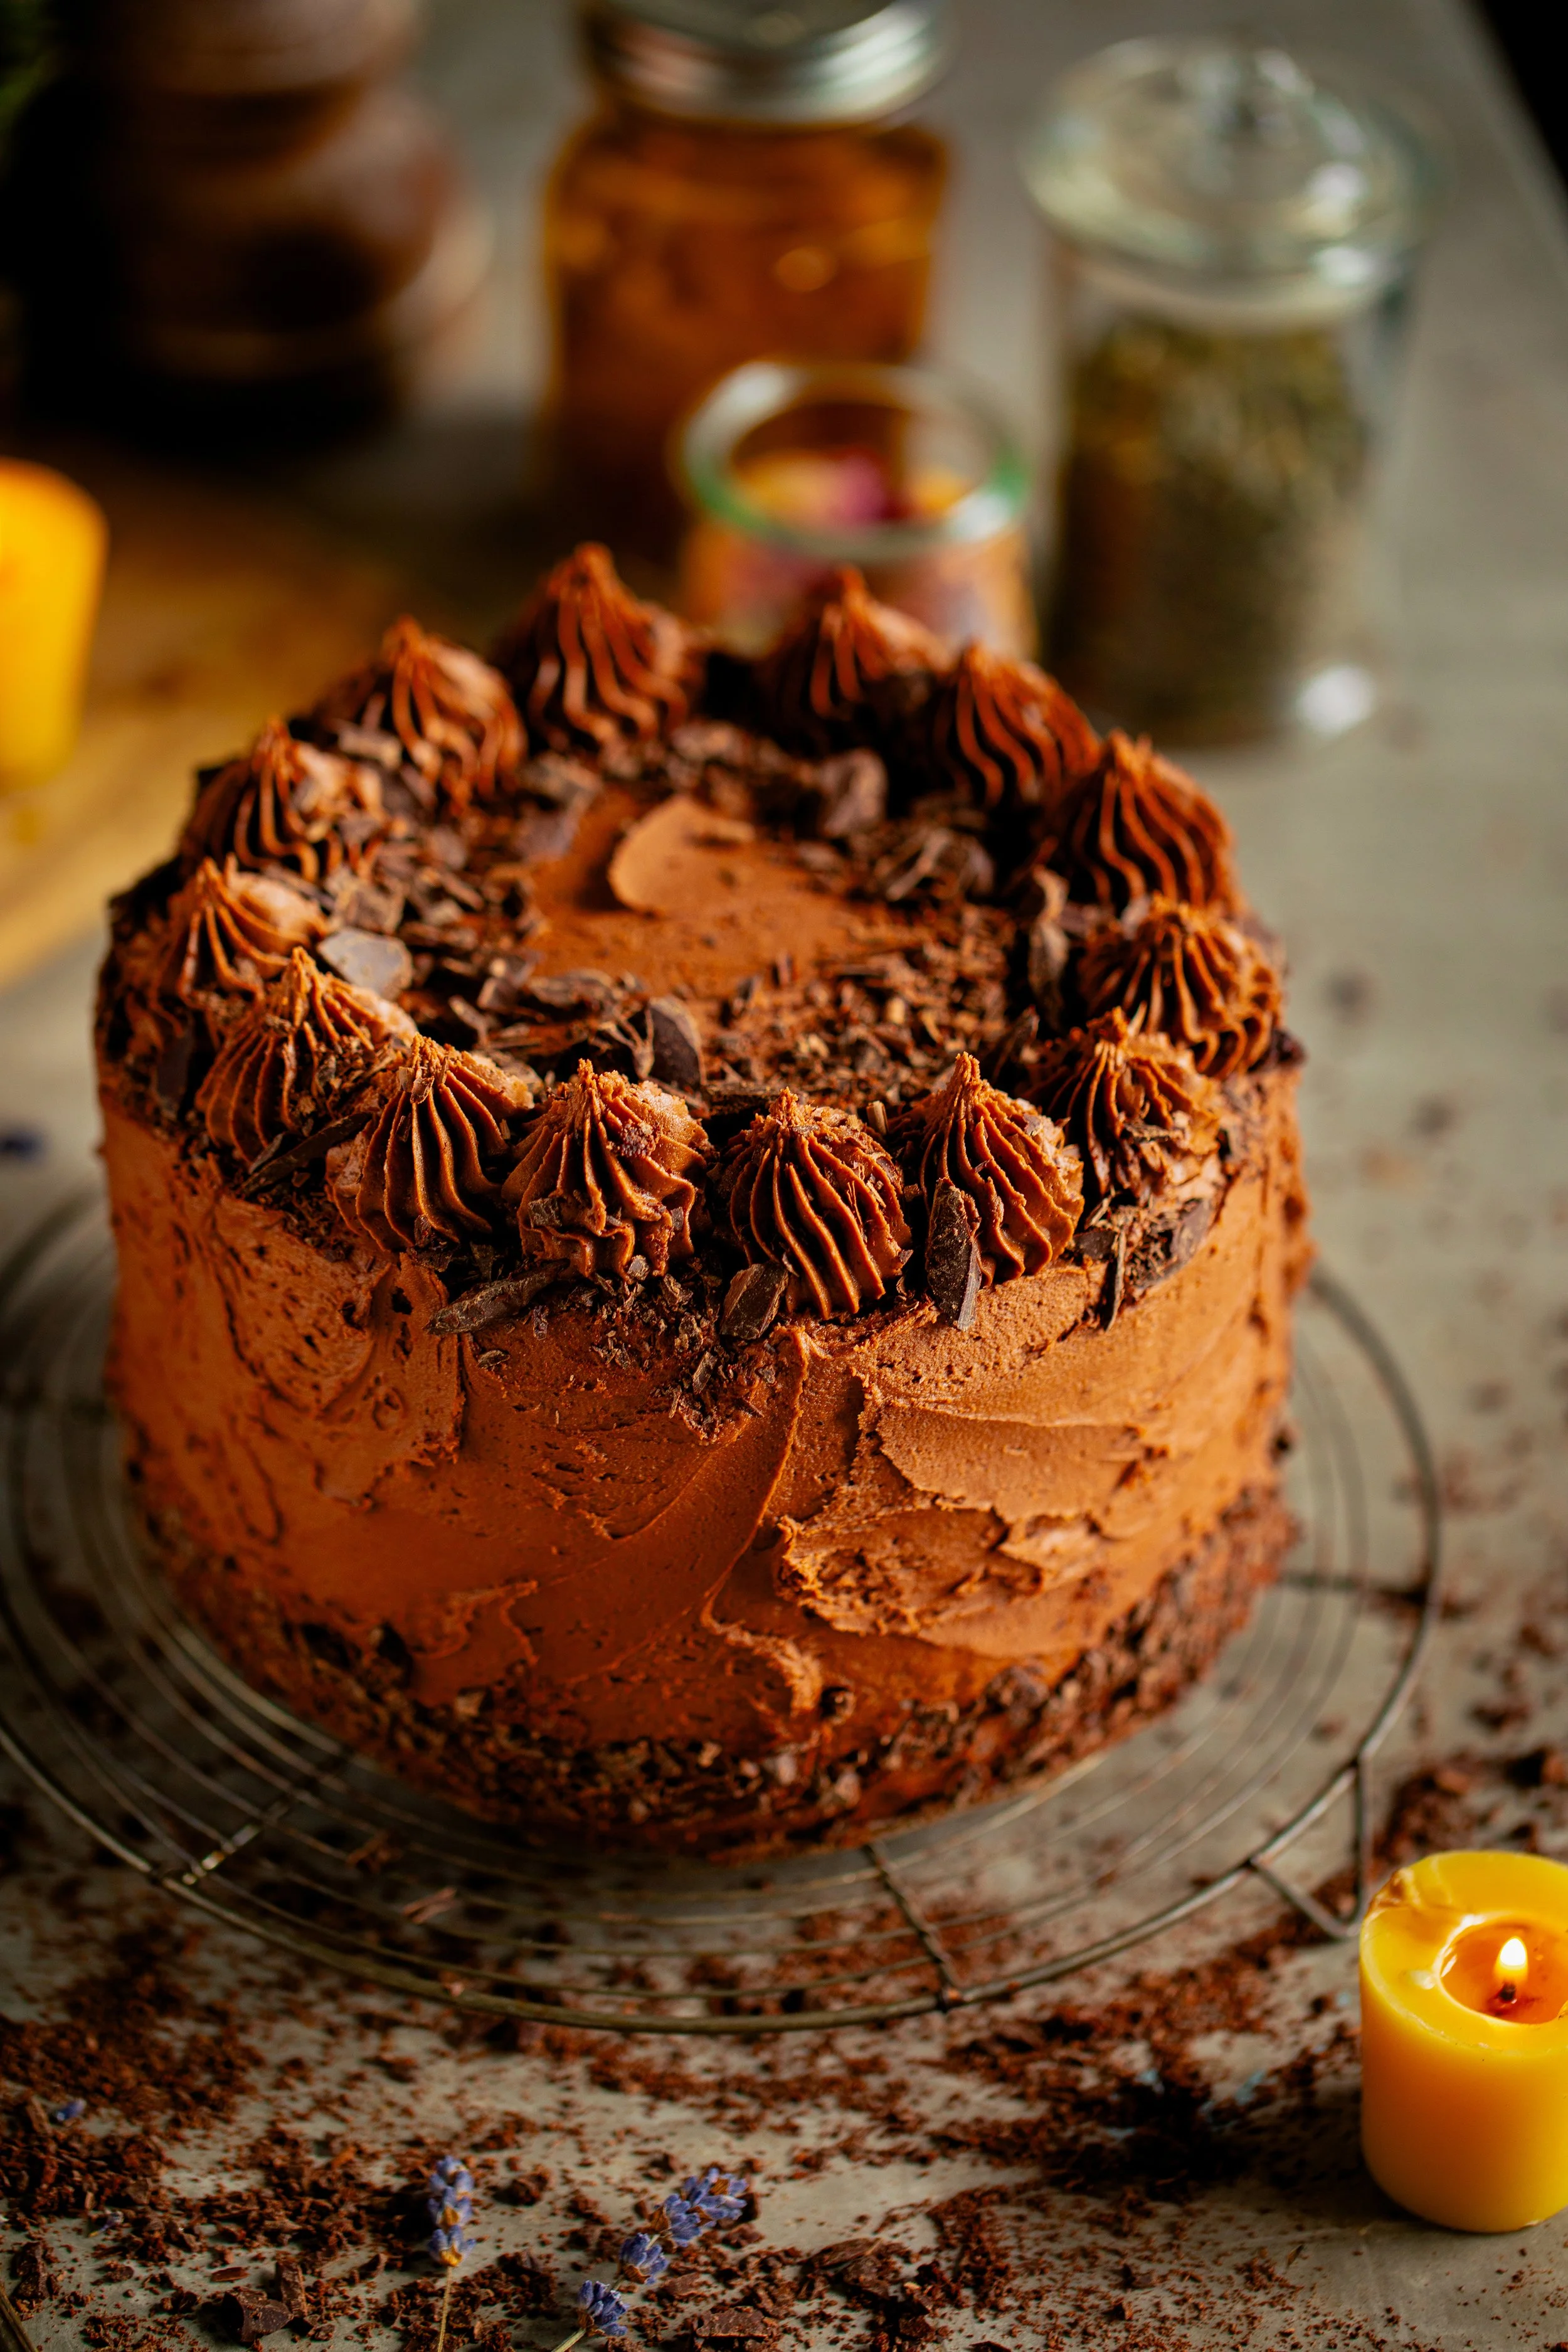
In the beloved movie Practical Magic, Aunt Francis’ Chocolate Cake has become a symbol of comfort, love, and, of course, a little magic. This rich and decadent chocolate cake is the perfect treat to bring a little enchantment into your kitchen. Whether you're a fan of the Owens sisters or simply want to bake something that’s irresistible, this classic Chocolate Cake with Chocolate Buttercream is sure to satisfy both your sweet tooth and your love for all things magical.
Why You’ll Love This Chocolate Cake:
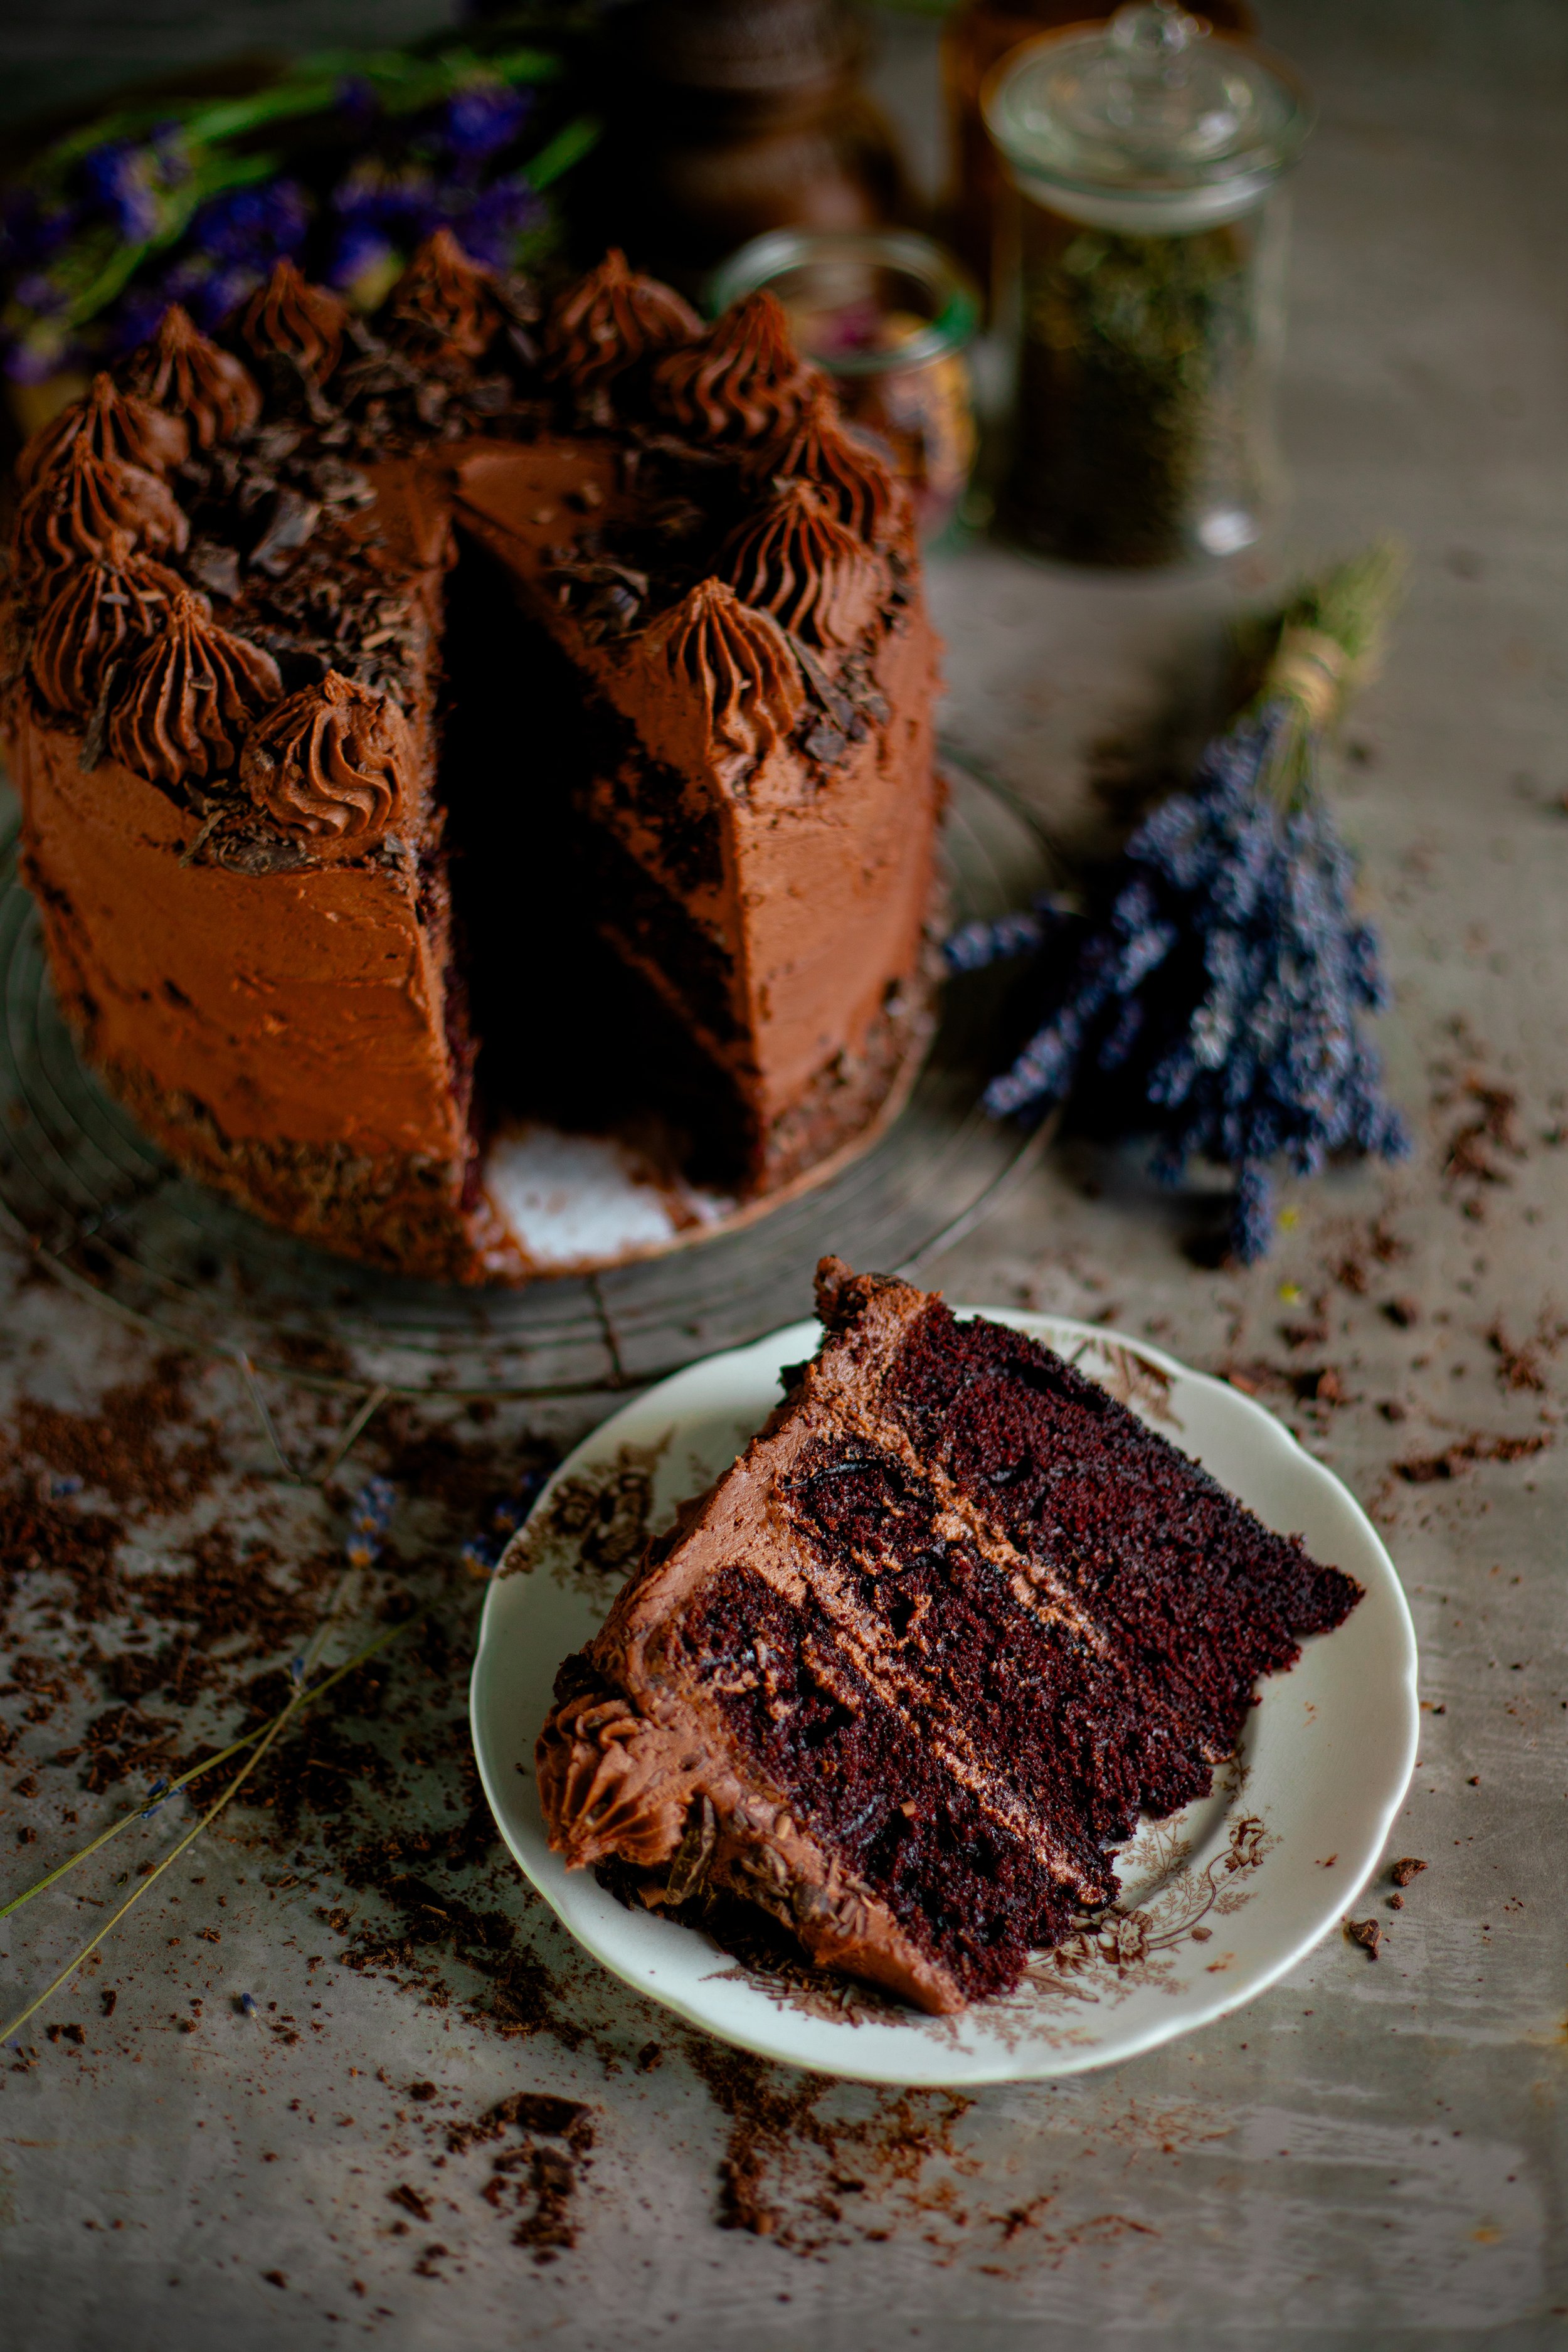
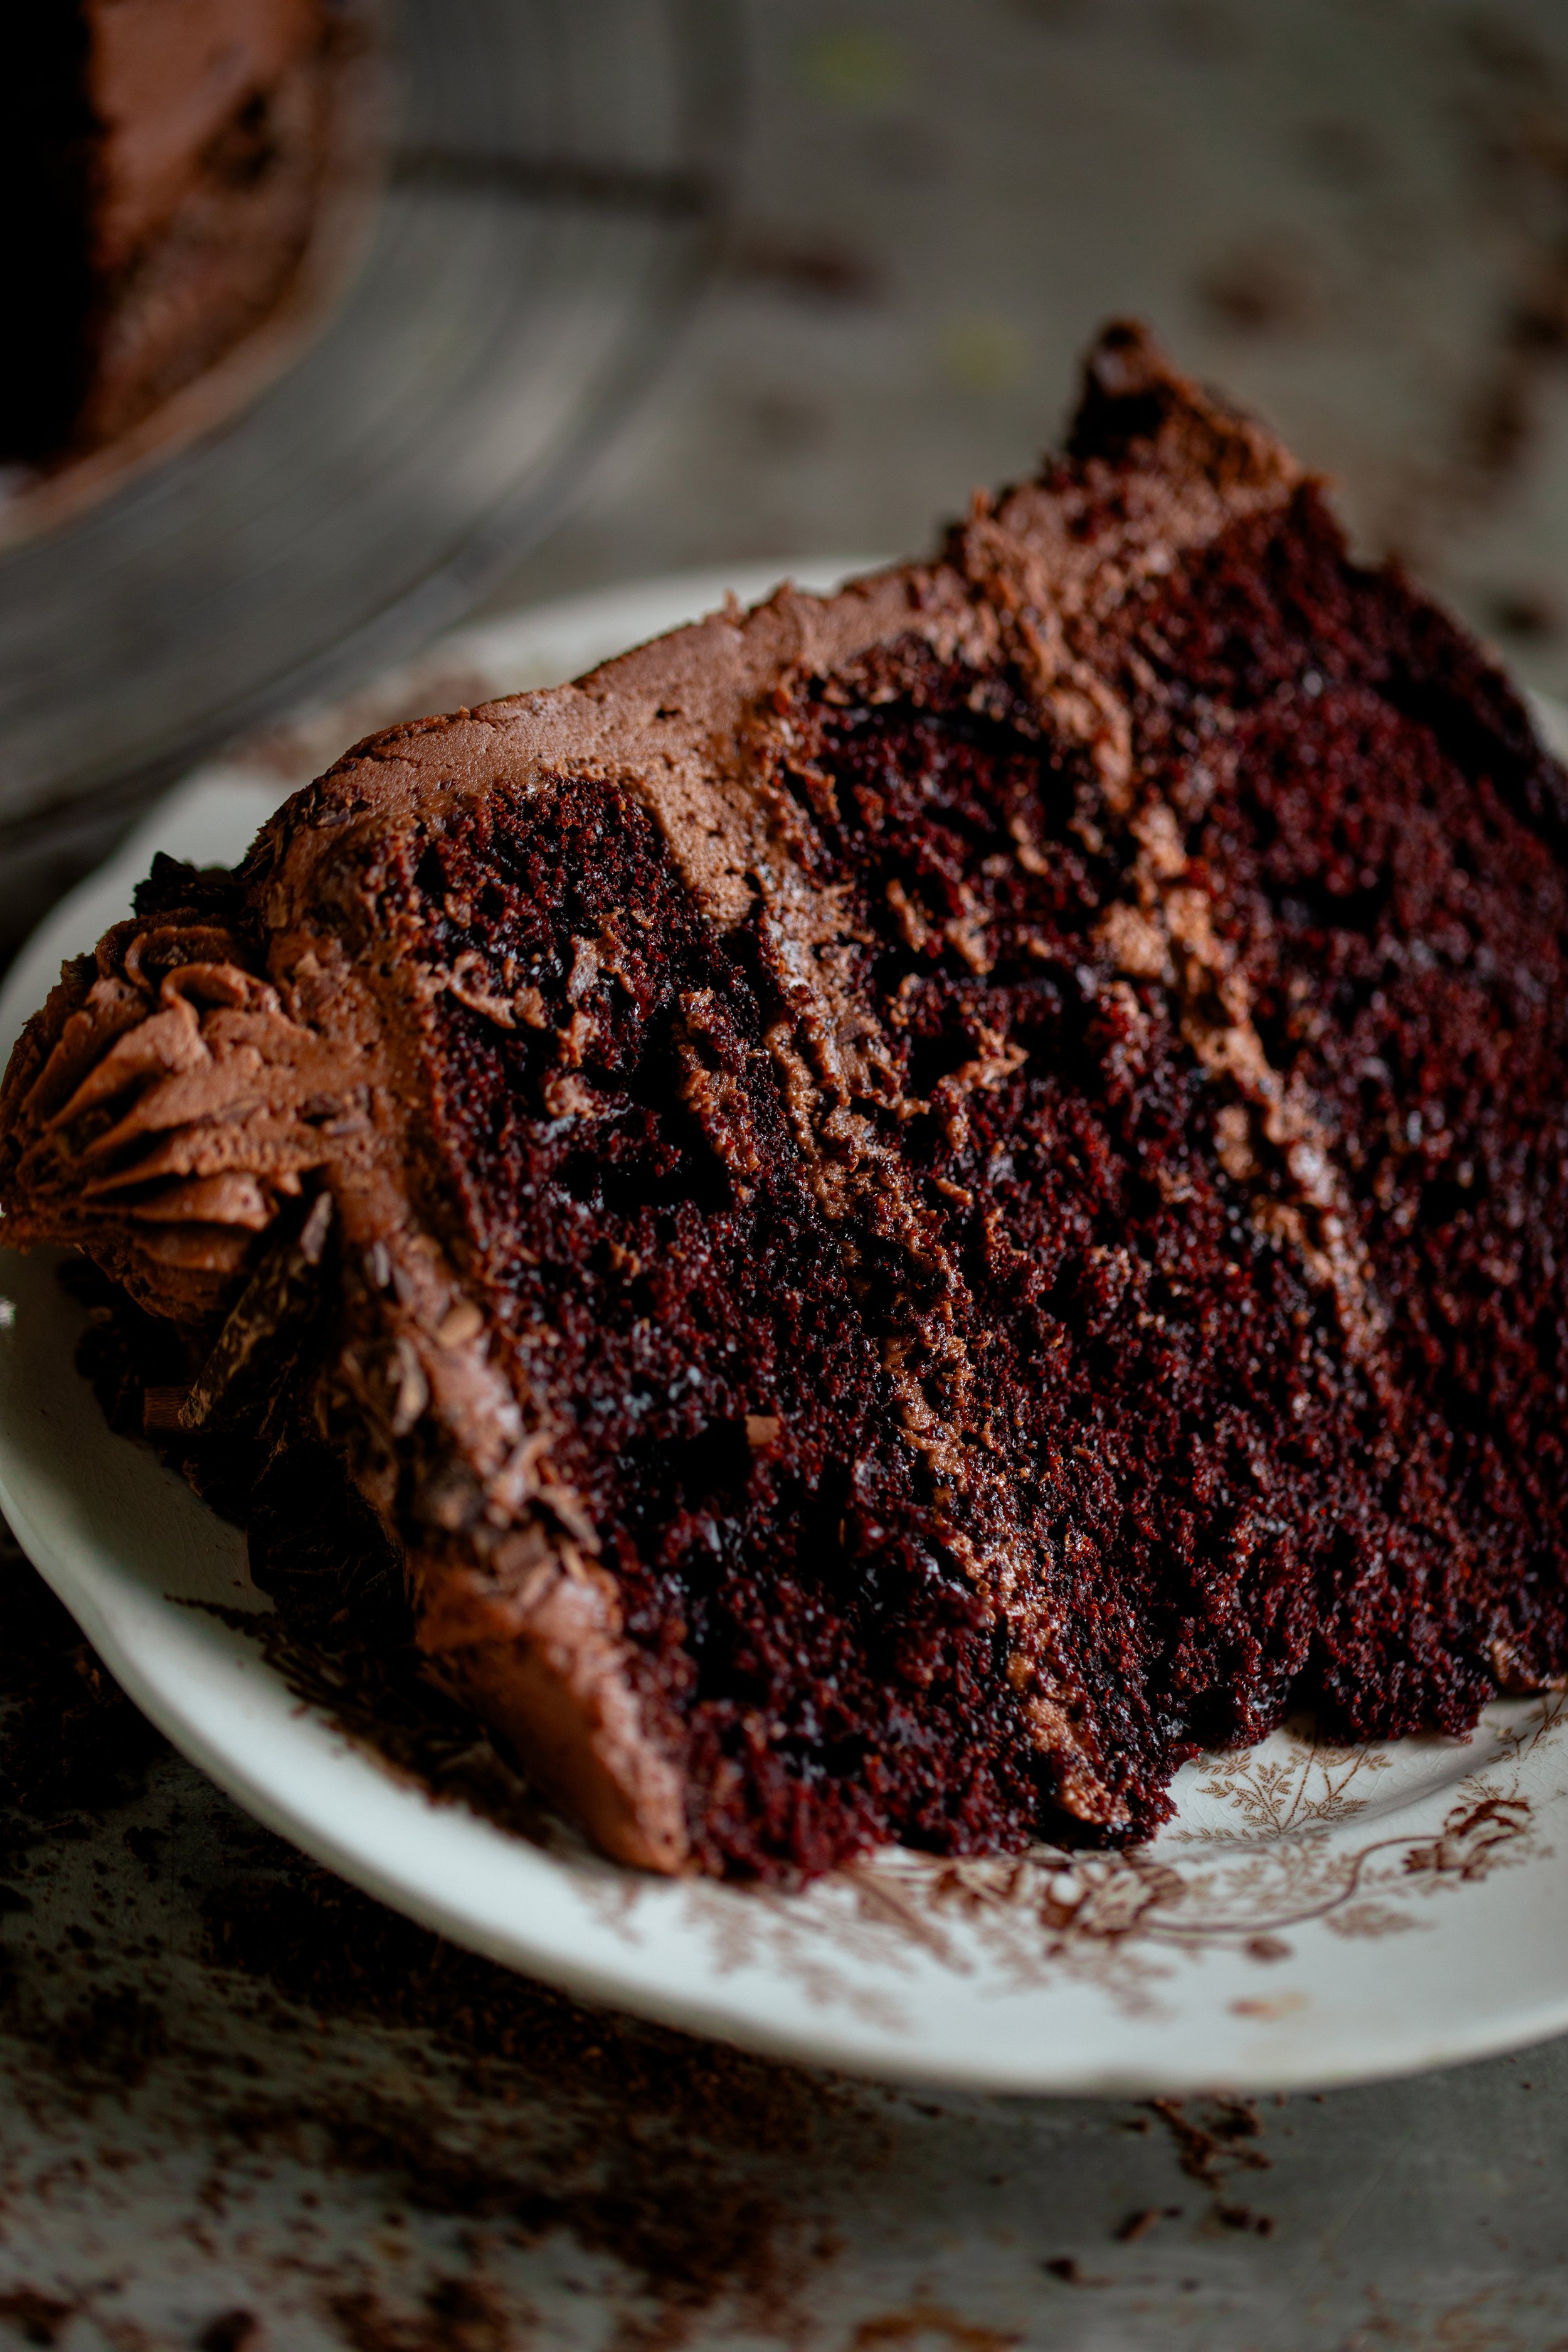
This cake is everything you want in a chocolate dessert—soft, moist, and packed with rich chocolate flavor. It’s the kind of cake that feels like a spell in itself, with each bite melting on your tongue like a touch of magic. Just like in Practical Magic, it’s perfect for sharing with your coven! Bake it for the perfect Owens Sister breakfast spread, a cozy movie night, a magical gathering, or simply as a sweet treat to enjoy with your afternoon tea.
A Slice of Magic for Any Occasion:
This Practical Magic Chocolate Cake isn’t just a dessert—it’s a piece of magical history inspired by the Owens family. It’s perfect for special occasions like birthdays, Halloween parties, or even a casual weekend gathering. Serve it with a scoop of vanilla ice cream for an extra indulgent treat that will have everyone under its spell.
Gathering Ingredients:
Flour. All-purpose flour works best for this recipe.
Sugar. Use granulated sugar.
Cocoa Powder. For this recipe, you will want to use unsweetened cocoa powder or Dutch-processed cocoa powder.
Leaveners. You will need baking powder and baking soda.
Salt.
Oil. Canola, vegetable, or any other neutral oil used for baking can be substituted!
Vanilla.
Eggs.
Buttermilk.
Coffee. You can also use espresso or decaf coffee!
How to Make Practical Magic Chocolate Cake:
Step One: In a large bowl or the bowl of a standing electric mixer fitted with a paddle attachment, whisk together the flour, sugar, cocoa powder, baking powder, baking soda, and salt until well combined, about 1 to 2 minutes.
Step Two: To the dry ingredients, add the oil, vanilla, eggs, and buttermilk. Mix at medium speed with a handheld mixer or the standing electric mixer until the batter just comes together and the ingredients are well blended, about 2 to 4 minutes. Then, whisk in the coffee until it is no longer separated from the batter, another 1 to 2 minutes. The batter will be very thin at this point.

Step Three: Divide the batter evenly between the prepared cake pans. Tap the pans on the counter lightly to remove any extra large air bubbles. Then, bake the cakes in the preheated oven for 25 to 30 minutes or until a toothpick inserted in the center comes out clean or with a few moist crumbs on it.
Step Four: Leave the cakes to cool in the pans for about 15 minutes before transferring them to wire cooling racks to finish cooling. It's best to cool the cakes with the domed top down. Do not frost the cake until the cakes are completely cooled to room temperature. To make your life easier, you can chill the cakes in the refrigerator for at least 20 minutes or pop them into the freezer for about 10 minutes to make them easier to frost!
Tips for Baking the Perfect Chocolate Cake:
Use High-Quality Cocoa Powder: For a truly decadent chocolate cake, choose a high-quality cocoa powder. The richer the cocoa, the more intense the chocolate flavor will be. I personally love Dutch-processed cocoa for a smoother taste.
Add Coffee for Depth: Want to intensify the chocolate flavor even more? Use freshly brewed coffee. The coffee won’t make the cake taste like coffee, but it will deepen the richness of the chocolate. You can use decaf or espresso, too!
Don’t Overmix the Batter: Be sure to mix your batter just until the ingredients are combined. Overmixing can lead to a denser cake. For a light, fluffy texture, keep mixing to a minimum once the flour is added.
Weigh Your Ingredients. This is a tip that I always include with my baking recipes! I develop all of my recipes by weight, so you can easily achieve similar results by pulling out the kitchen scale and weighing your flour and sugar.
Serving Suggestions for a Touch of Practical Magic:
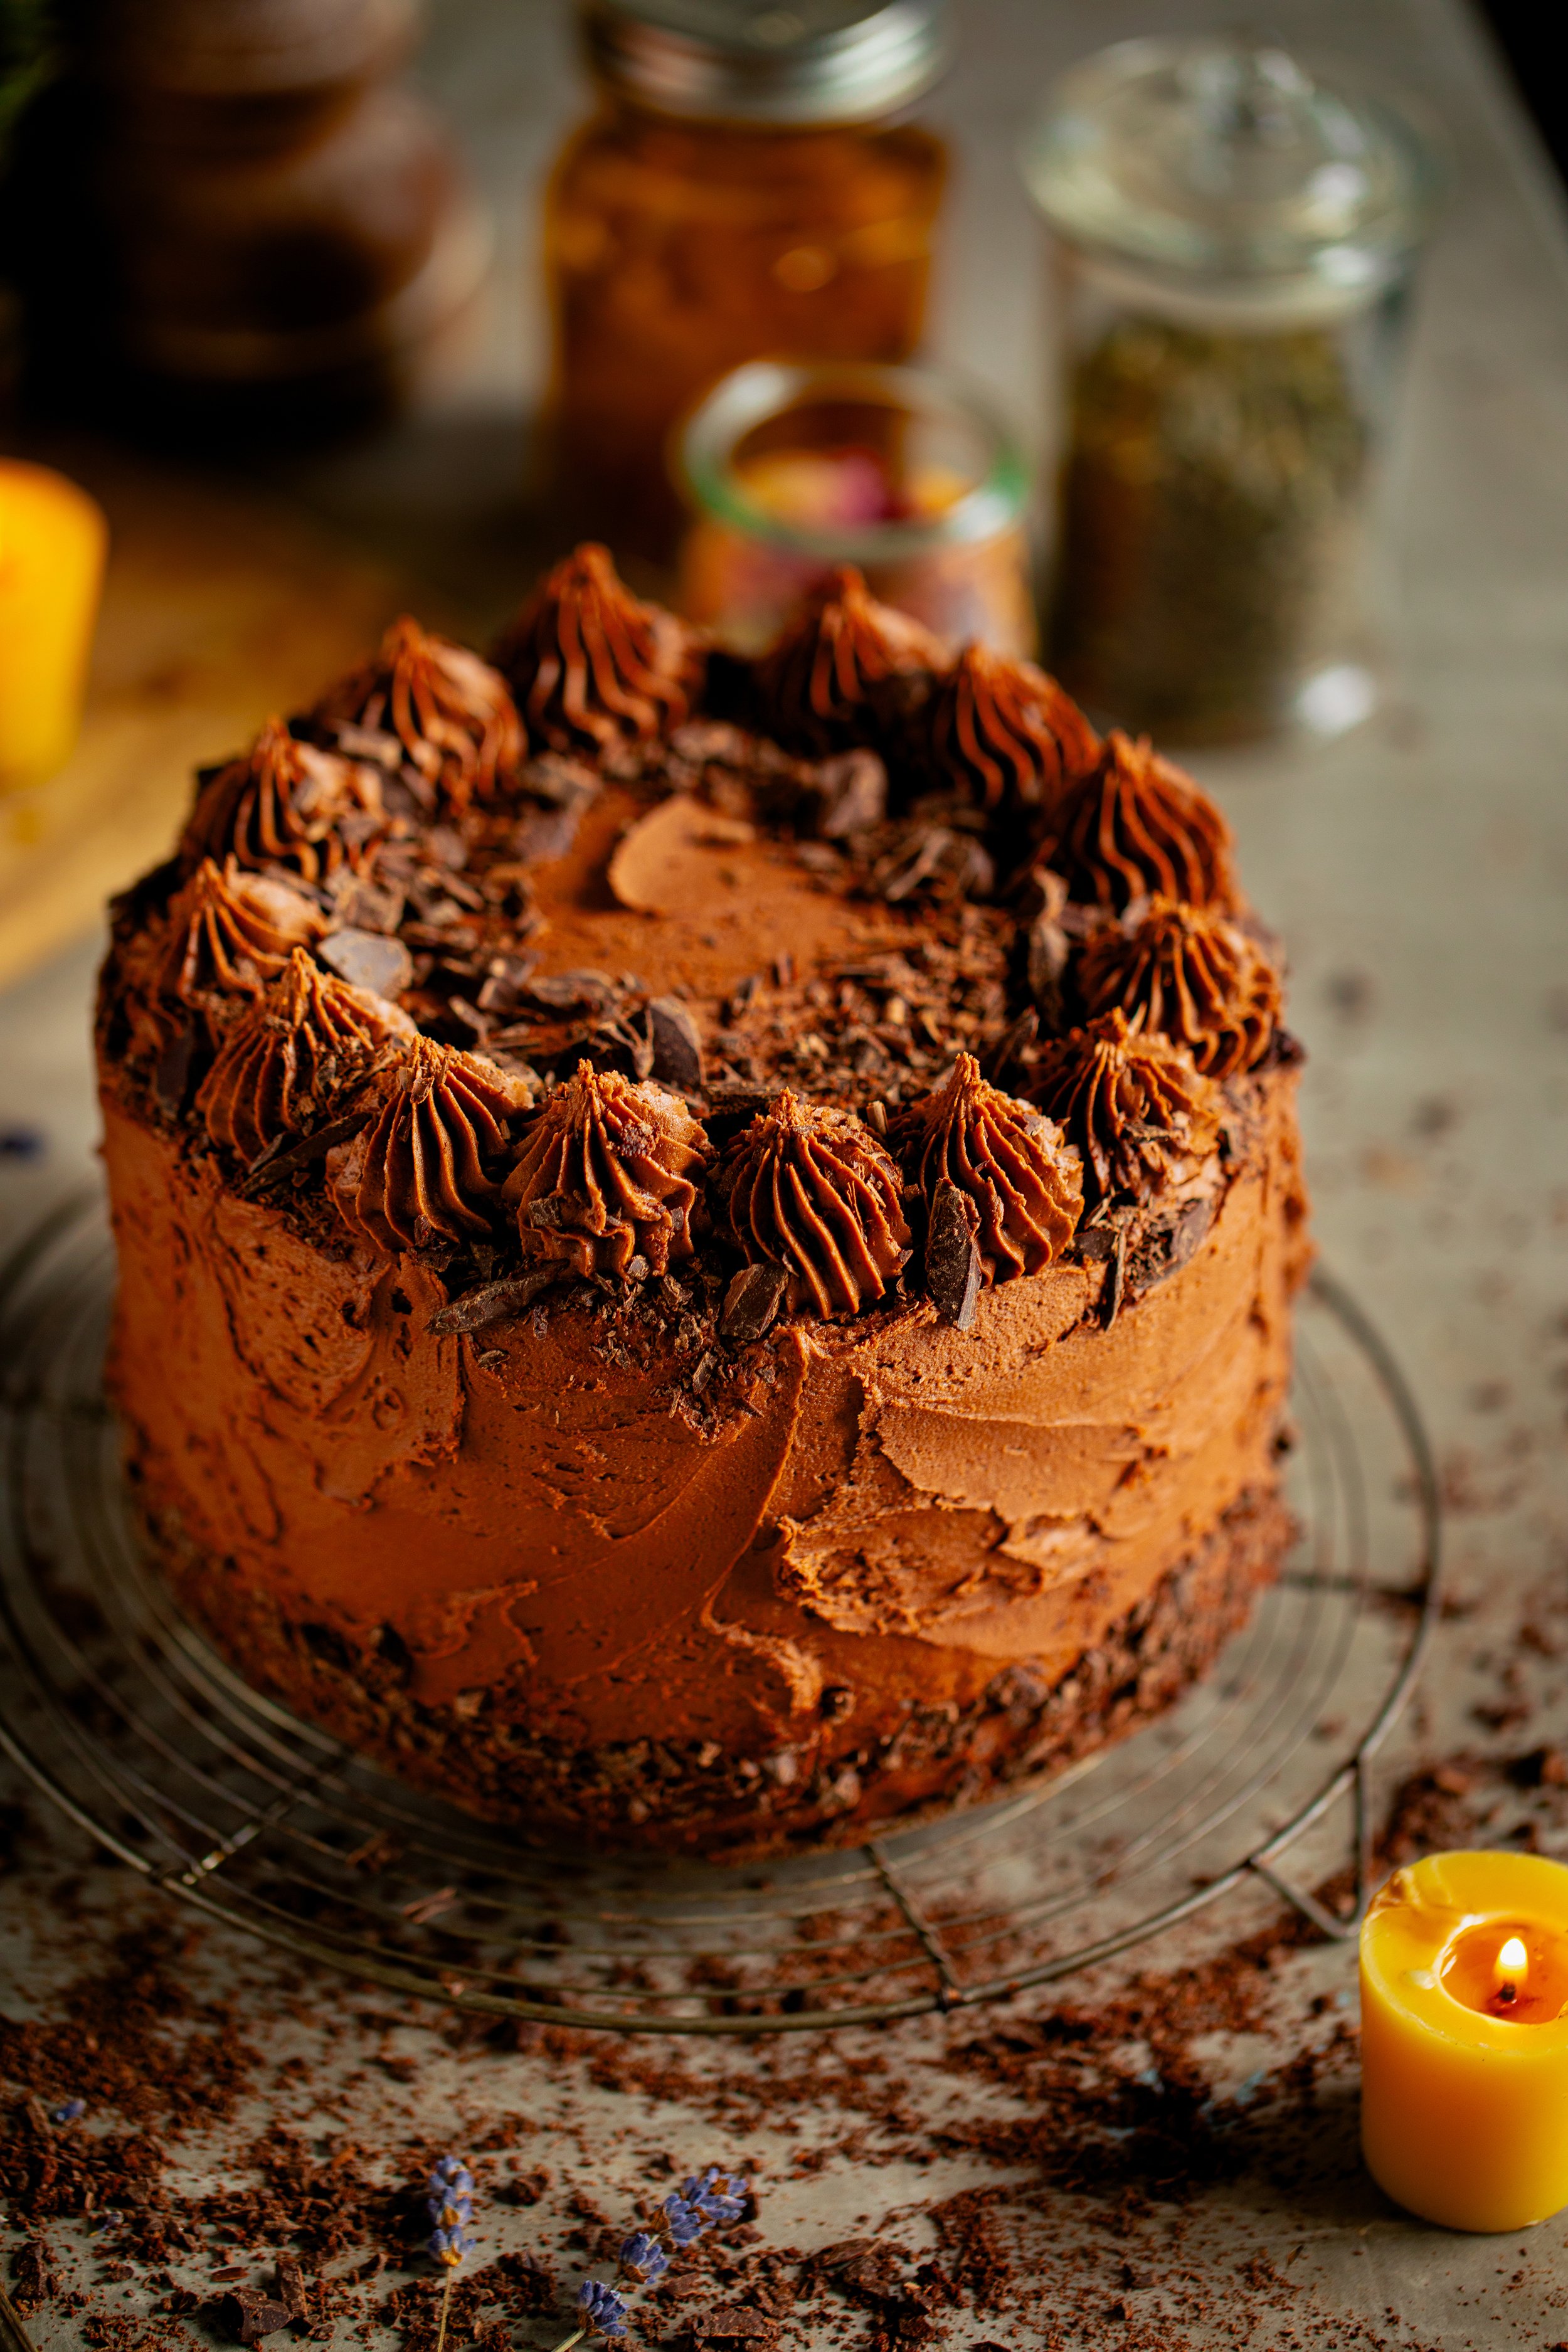
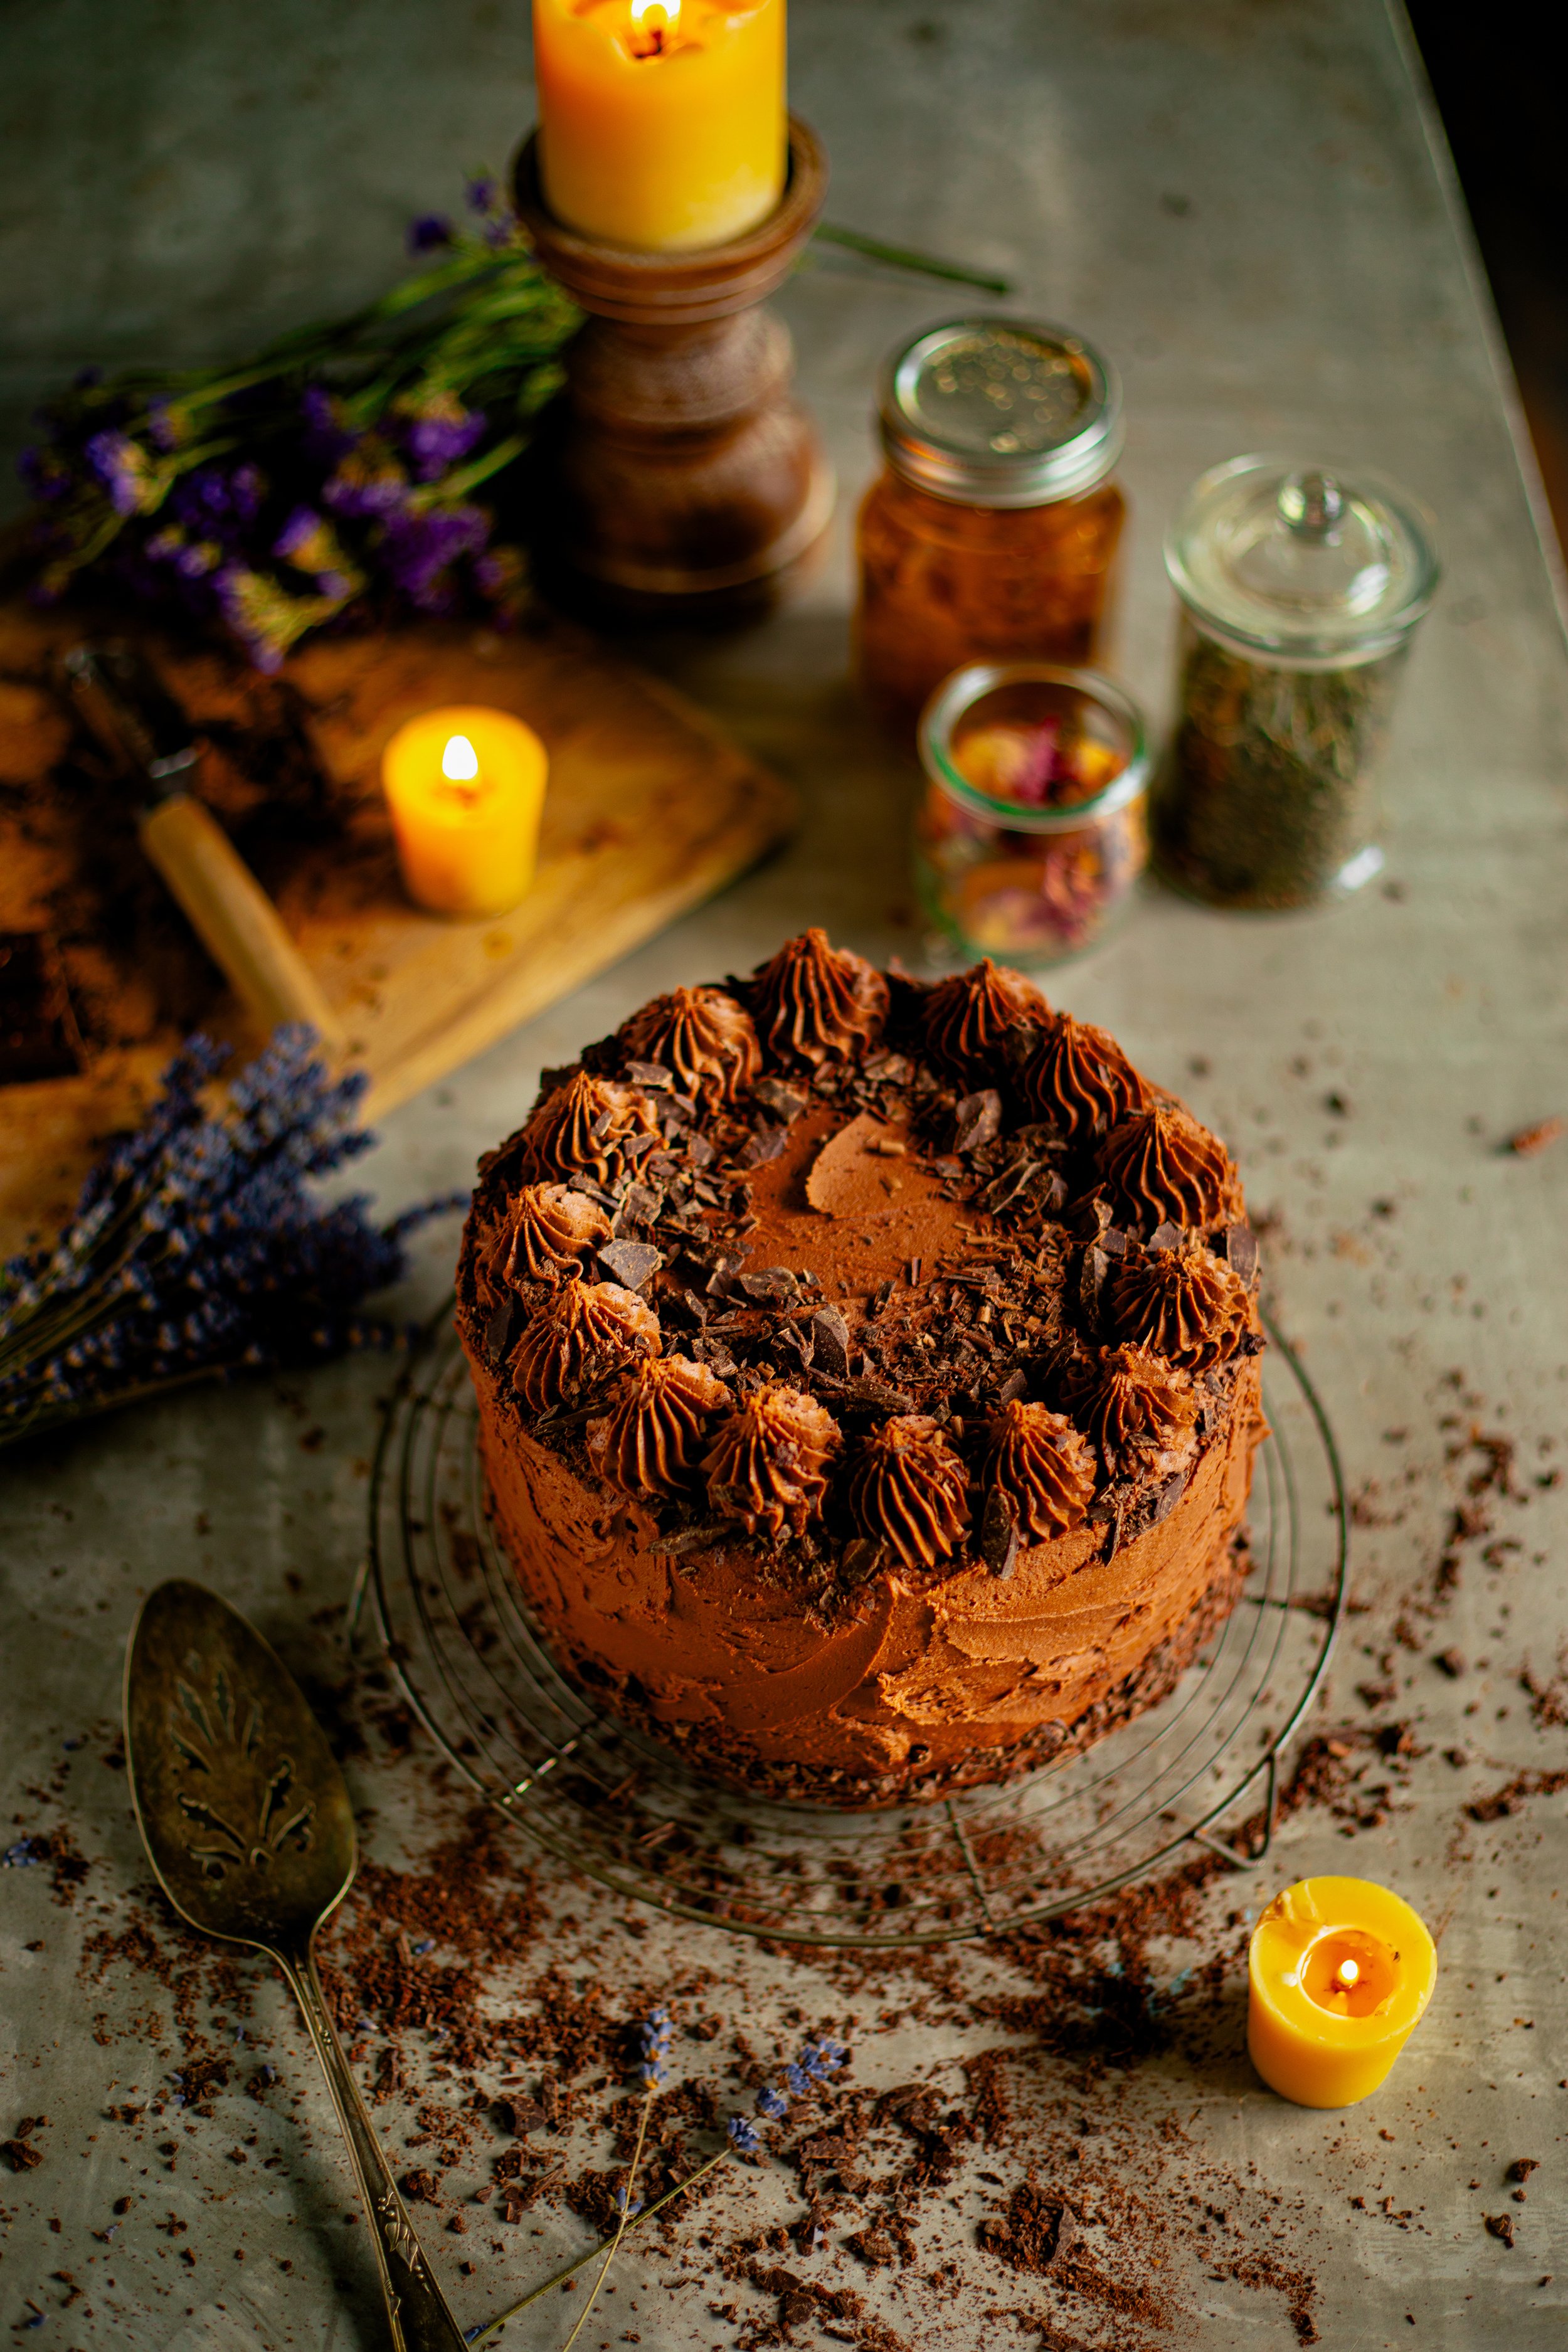
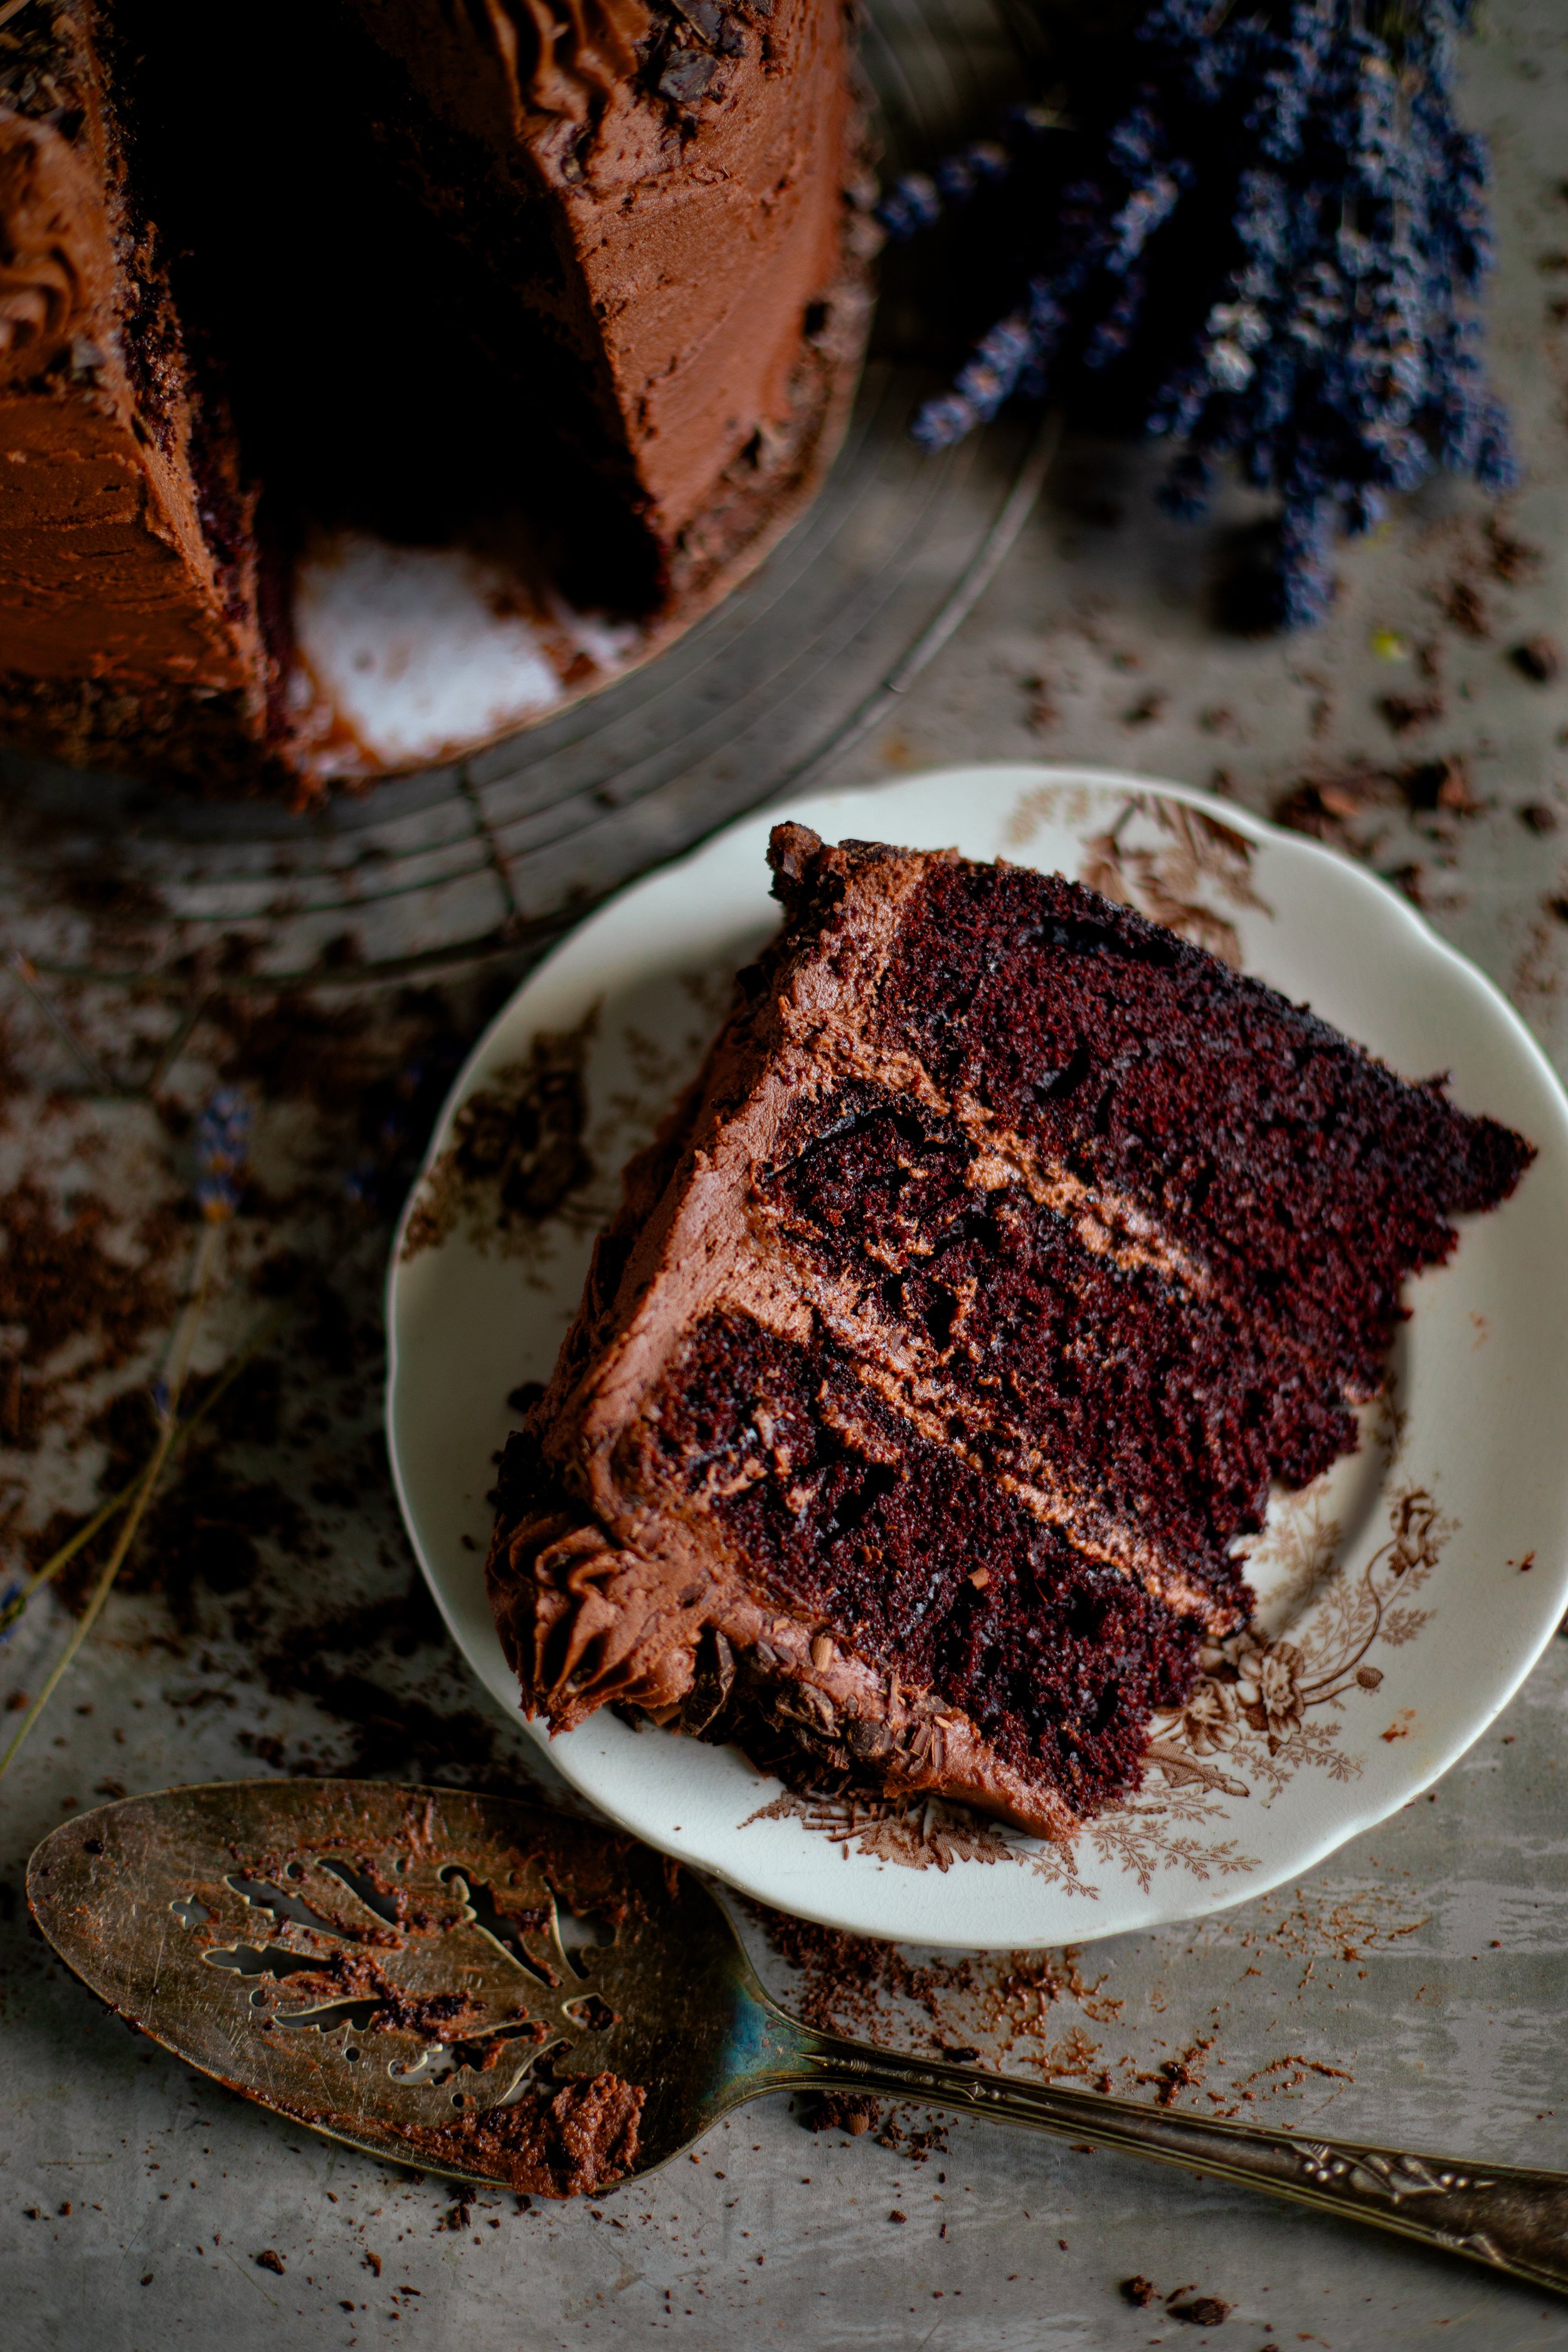
To really bring out the magic of this Practical Magic Chocolate Cake, serve it on your favorite vintage cake stand or on mismatched plates and cups, just like something you might find in the Owens family kitchen. Decorate with fresh flowers or chocolate shavings to add a whimsical touch, and enjoy it with a hot cup of tea or coffee for the full Practical Magic experience.

Final Thoughts:
Aunt Francis’ Chocolate Cake is more than just a recipe—it’s a tribute to the magic of family, love, and sweet indulgence. Whether you’re a fan of Practical Magic or simply looking for the ultimate chocolate cake to bake, this dessert is a guaranteed hit. With its rich, chocolatey flavor and a sprinkle of magical inspiration, it’s the perfect treat to enjoy for breakfast on a crisp fall day. Bake it, slice it, and savor the enchantment in every bite.

Aunt Francis' Chocolate Cake from Practical Magic
Ingredients
- 2 1/2 cups (312 g) all-purpose flour
- 1 3/4 cups (350 g) granulated sugar
- 1/2 cup (83 g) unsweetened cocoa powder or Dutch process cocoa powder
- 2 tsp (10 g) baking powder
- 1 tsp (7 g) baking soda
- 1/2 tsp kosher salt
- 2/3 cup (160 ml) vegetable or canola oil
- 1 tsp vanilla extract
- 3 large eggs, room temperature
- 1 cup (240 ml) buttermilk, room temperature
- 1 cup (240 ml) hot strong coffee or espresso, decaf or regular
- 1/2 cup (116 g) salted butter, softened to 62° F (16° C) or room temperature
- 3 1/2 cups (400 g) powdered sugar, sifted
- 1/4 cup (42 g) unsweetened cocoa powder or Dutch process cocoa powder
- Pinch of kosher salt
- 1 tsp vanilla extract
- 2 to 3 tbsp (30 to 45 ml) heavy cream
- 2 oz (56 g) semi-sweet or milk chocolate shavings
Instructions
- Preheat the oven to 350° F (177° C). Butter and flour 3 8-inch (20-cm) round cake pans or 2 9-inch (23-cm) pans. Place a layer of brown parchment paper cut to fit the cake pans into the bottom as well. You can use pre-cut parchment rounds to make the job easier!
- In a large bowl or the bowl of a standing electric mixer fitted with a paddle attachment, whisk together the flour, sugar, cocoa powder, baking powder, baking soda, and salt until well combined, about 1 to 2 minutes.
- To the dry ingredients, add the oil, vanilla, eggs, and buttermilk. Mix at medium speed with a handheld mixer or the standing electric mixer until the batter just comes together and the ingredients are well blended, about 2 to 4 minutes. Then, whisk in the coffee until it is no longer separated from the batter, another 1 to 2 minutes. The batter will be very thin at this point.
- Divide the batter evenly between the prepared cake pans. Tap the pans on the counter lightly to remove any extra large air bubbles. Then, bake the cakes in the preheated oven for 25 to 30 minutes or until a toothpick inserted in the center comes out clean or with a few moist crumbs on it.
- Leave the cakes to cool in the pans for about 15 minutes before transferring them to wire cooling racks to finish cooling. It's best to cool the cakes with the domed top down. Do not frost the cake until the cakes are completely cooled to room temperature. To make your life easier, you can chill the cakes in the refrigerator for at least 20 minutes or pop them into the freezer for about 10 minutes to make them easier to frost!
- While the cakes are cooling, make the Chocolate Buttercream Frosting. In a large bowl with a handheld electric mixer or in the bowl of a standing electric mixer fitted with a whisk attachment, add the butter. Cream the butter until it is lightened in color and has almost doubled its original volume, becoming fluffy, about 4 to 5 minutes.
- Add the powdered sugar, cocoa powder, salt, vanilla, and heavy cream. Beat the frosting on high speed until it becomes thick, soft, and fluffy kind of like shaving cream. This should take about 5 to 6 minutes, depending on the temperature of your room. Buttercream needs slightly warmer temperature to achieve the correct consistency (70° F).
- Scrape the bottom and sides of the bowl and cream in any separated ingredients. If you are not ready to use the buttercream right away, you can store it in an airtight container in the refrigerator for about 4 days. Bring the buttercream back to room temperature and beat it for a few minutes with the mixer before frosting.
- Begin by leveling the cakes. If there is a dome to any of the cakes, use a serrated knife to slice off the tops so that all of the cakes are the same height and side nicely on top of each other.
- Spread a small bit of frosting onto the surface of the cake plate you will be keeping your cake on. Place one layer of cake on top of this spot. Then, spread some of the chocolate buttercream onto the top of the cake, spreading to the edges.Layer on the next cake and spread a second layer of frosting. Finish the cake off with the final layer of cake.
- Spread on the crumb coat, or the first layer of frosting. This layer should be fairly thin and will look messy, as you will be gathering up little bits of crumbs from the cake. Scrape the sides as smooth as possible with a bench scraper. Place the cake into the refrigerator for about 15 minutes to set the crumb coat.
- Remove the cake from the refrigerator and spread on the outside layer of frosting. Spread this on generously all over the top and down the sides. To achieve a perfectly smooth edge and top, rotate the cake while you scrape the frosting with a bench scraper, cleaning any frosting off of your spatula if you happen to lift away from the cake. Save any leftover frosting for piping. You should have about half of the frosting left.*
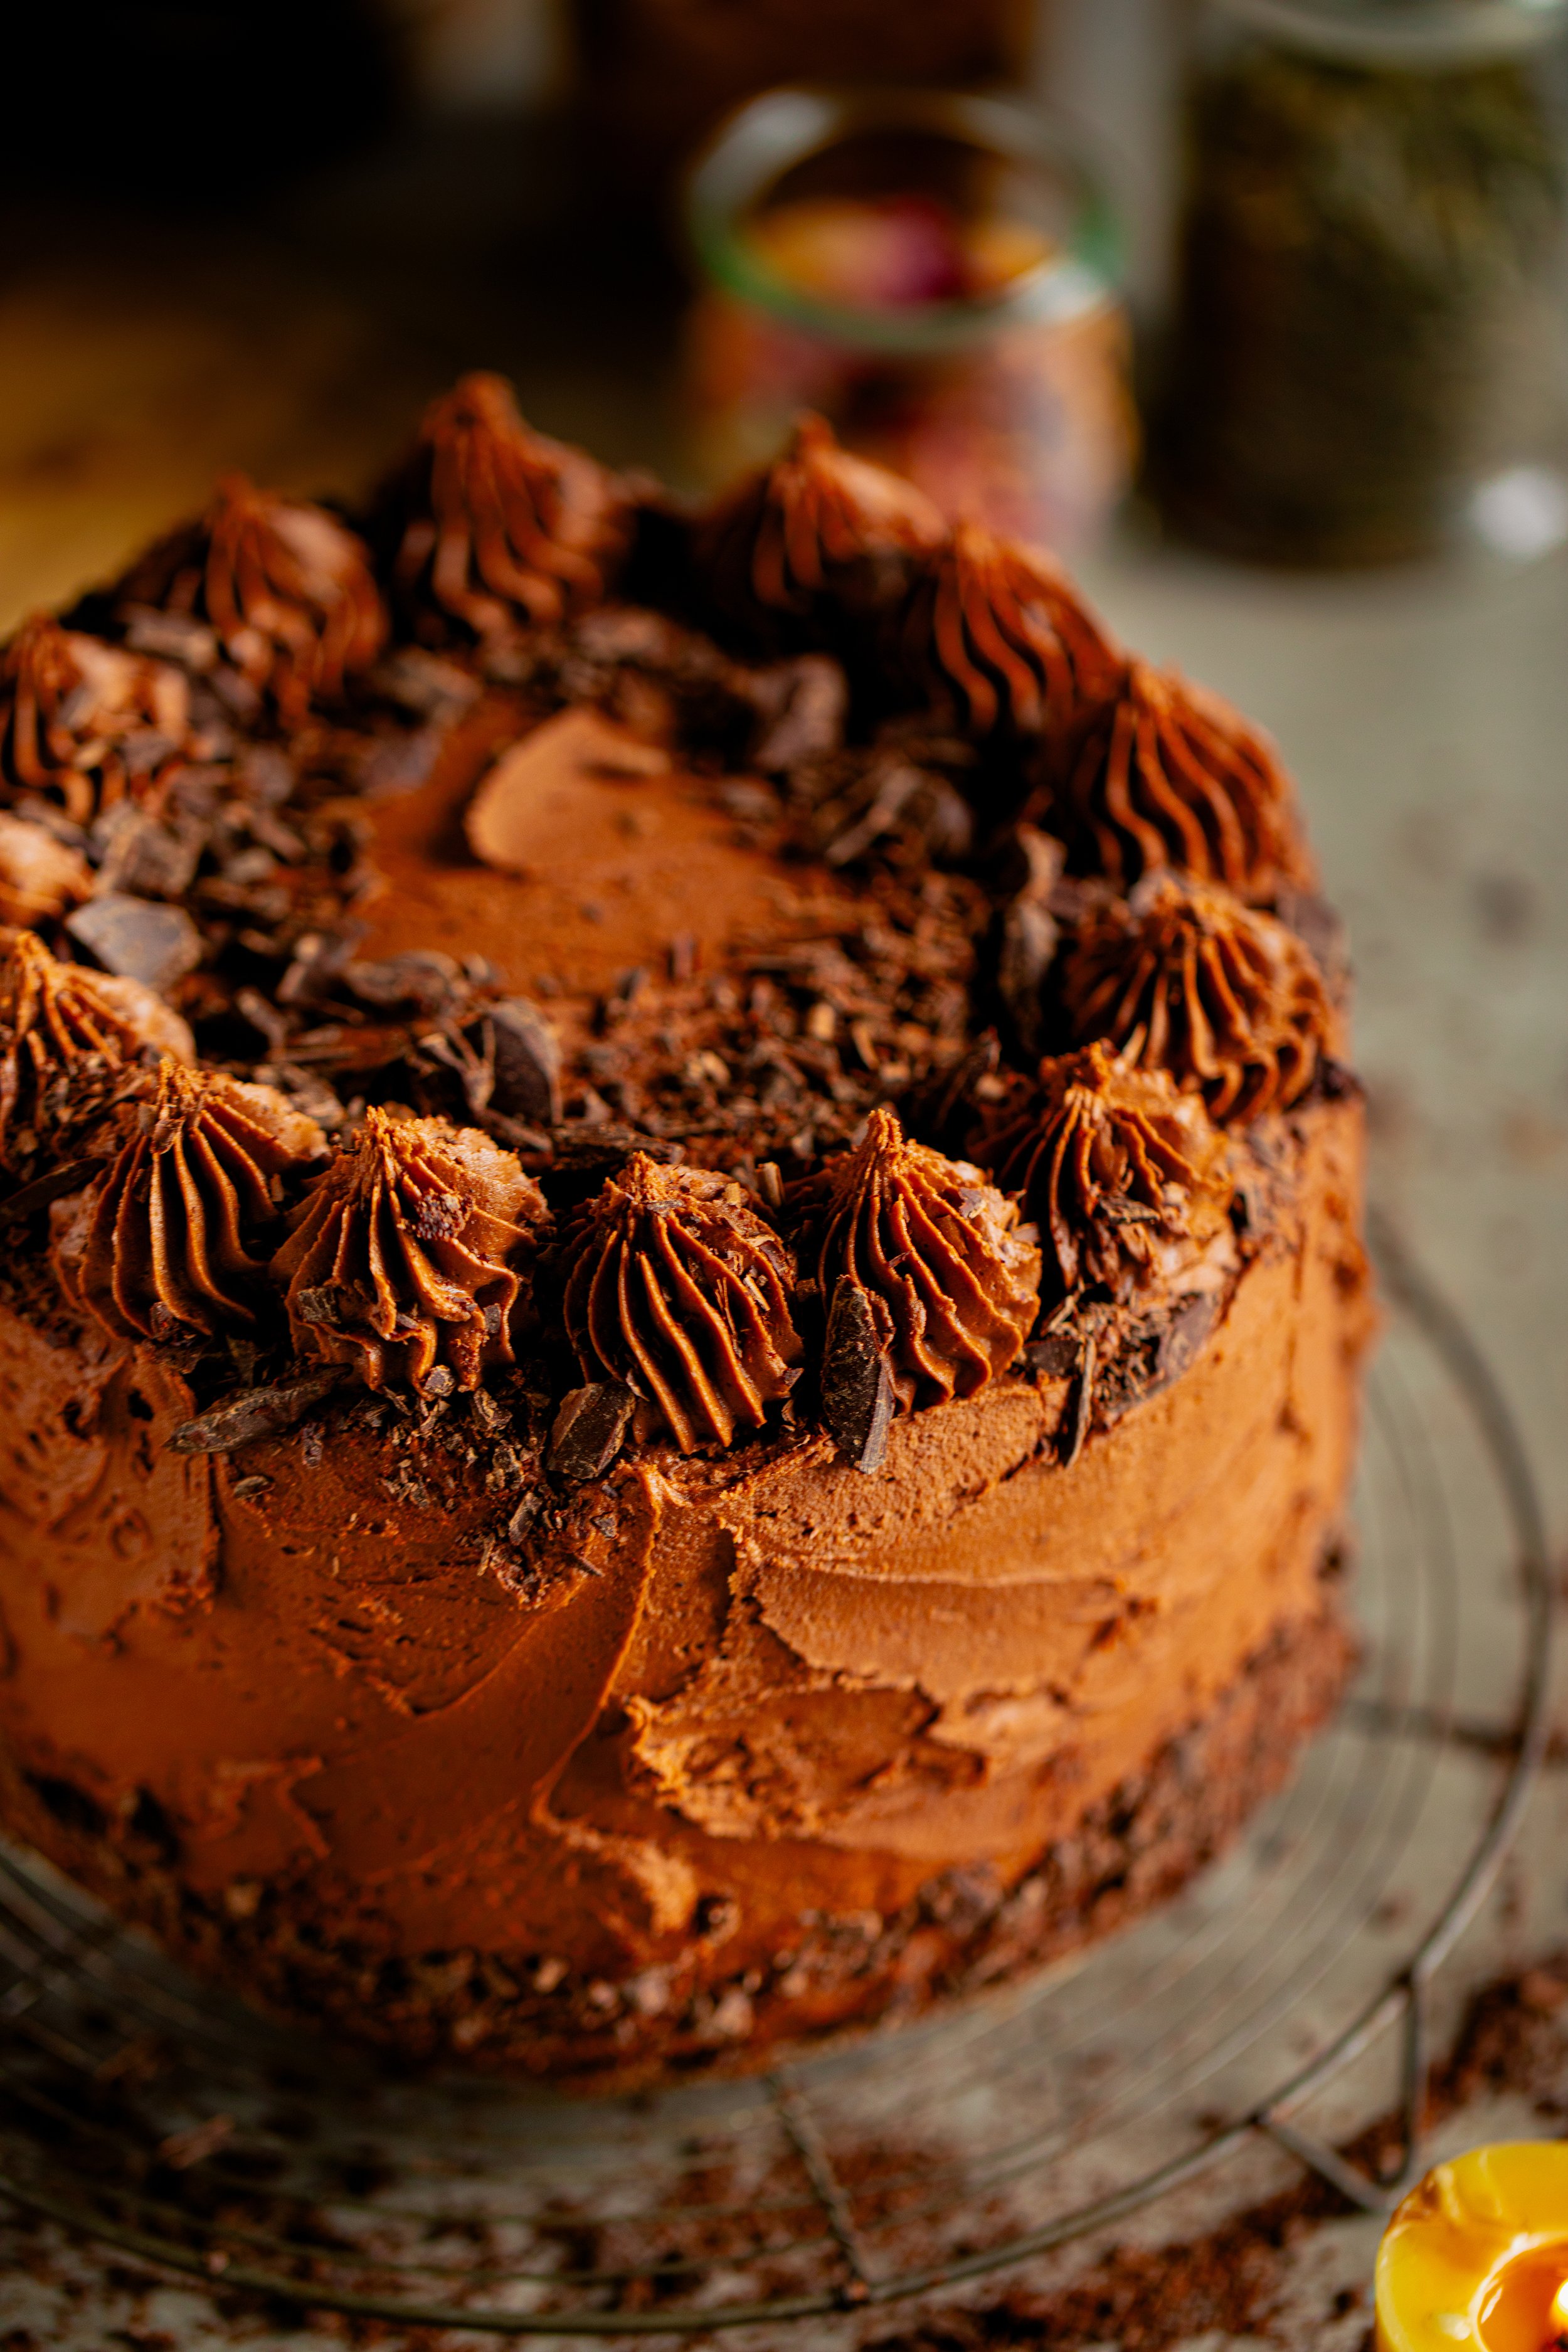
- Divide the remaining frosting into piping bags. This part will be where you are creative! You can use any piping tips or designs that you want. I used a large French star tip to achieve a classic festively decorated look! Sprinkle the chocolate shavings onto the top of the cake and press some into the bottom edge.
- Serve the cake at room temperature. To store the cake, place it into the refrigerator under a cake dome or place slices into airtight containers. Eat the cake chilled or let it warm to room temperature before enjoying! I love eating this cake with milk poured over it.
Notes
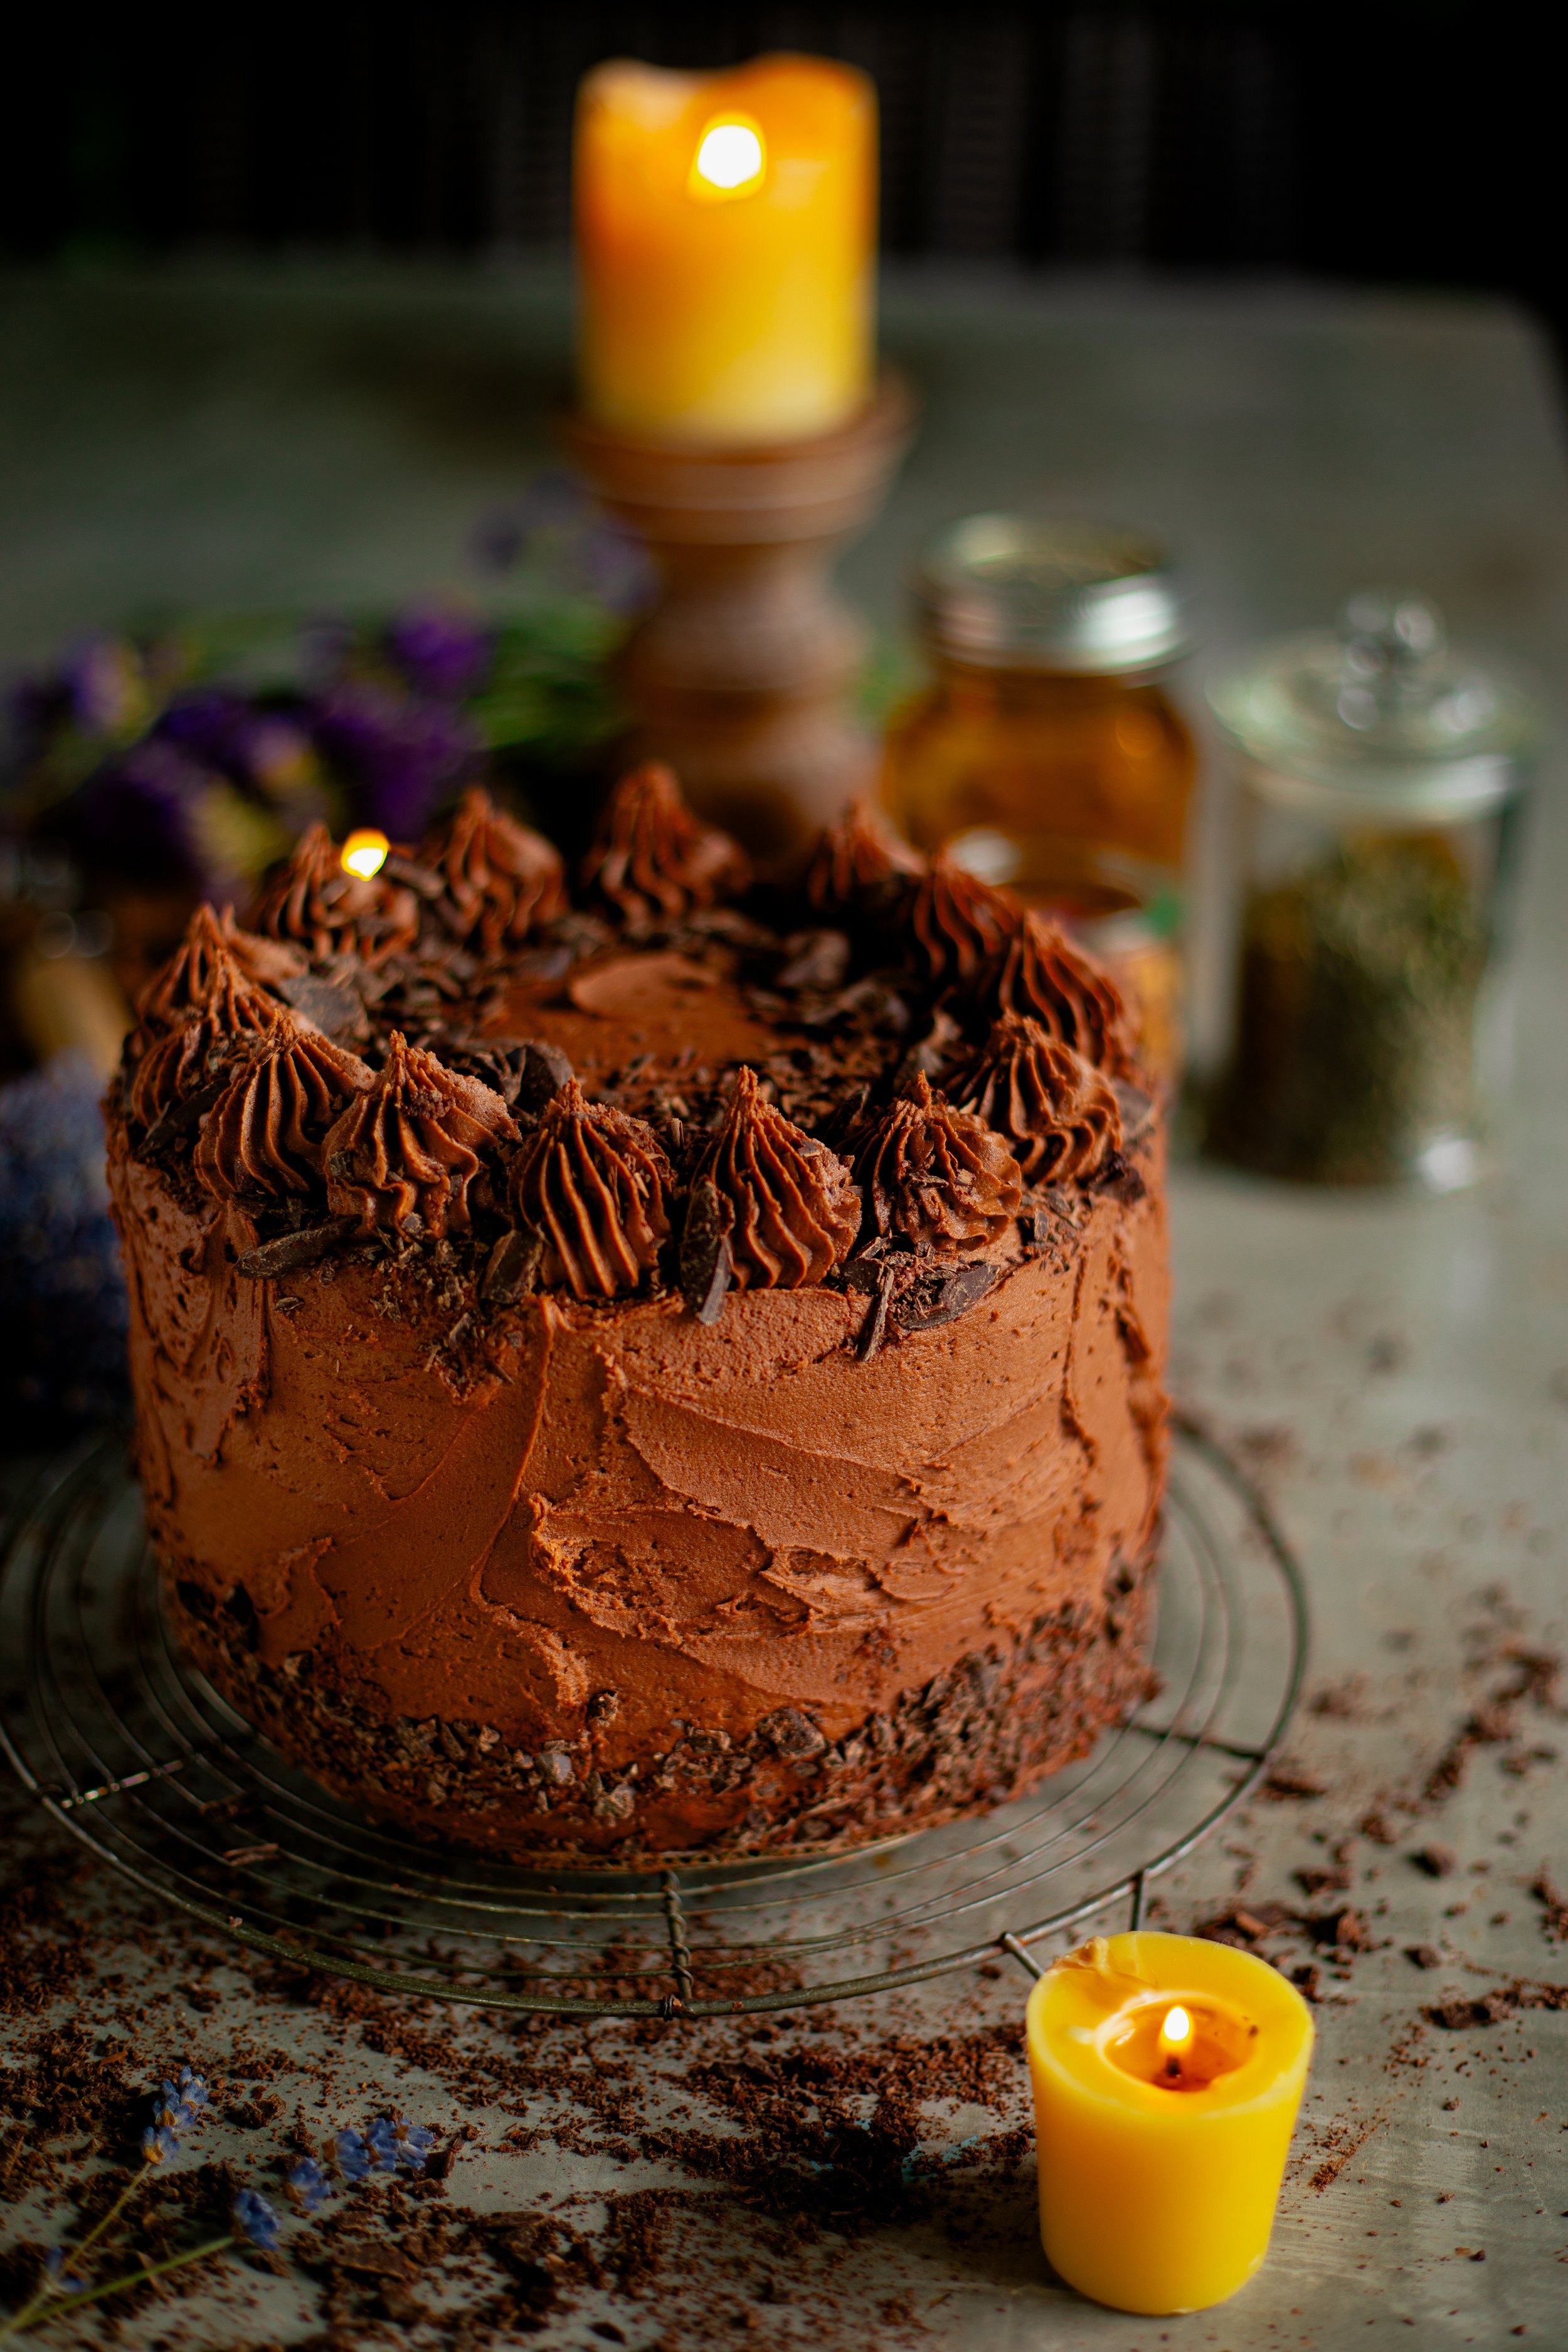
*The idea for this cake was to make it look like it came straight from your best friend's or sister's kitchen! Don't feel like it has to have perfectly straight or smooth sides. Let it be a little messy. In my mind, I was picturing something from a children's book!
Nutrition Facts
Calories
725Nutritional information is only an estimate. The accuracy of the nutritional information for any recipe on this site is not guaranteed.